Getting started
Sign in, build your first template with the Setup Wizard, and learn your way around the Projects screen and Project Home. By the end of this chapter you will have created a project and understand the nuts and bolts.
1.1Set up your account
Before anyone can sign in to the app, your company needs a Forest Metrix account. Accounts are created and managed on the account website, account.forestmetrix.com, not in the app.
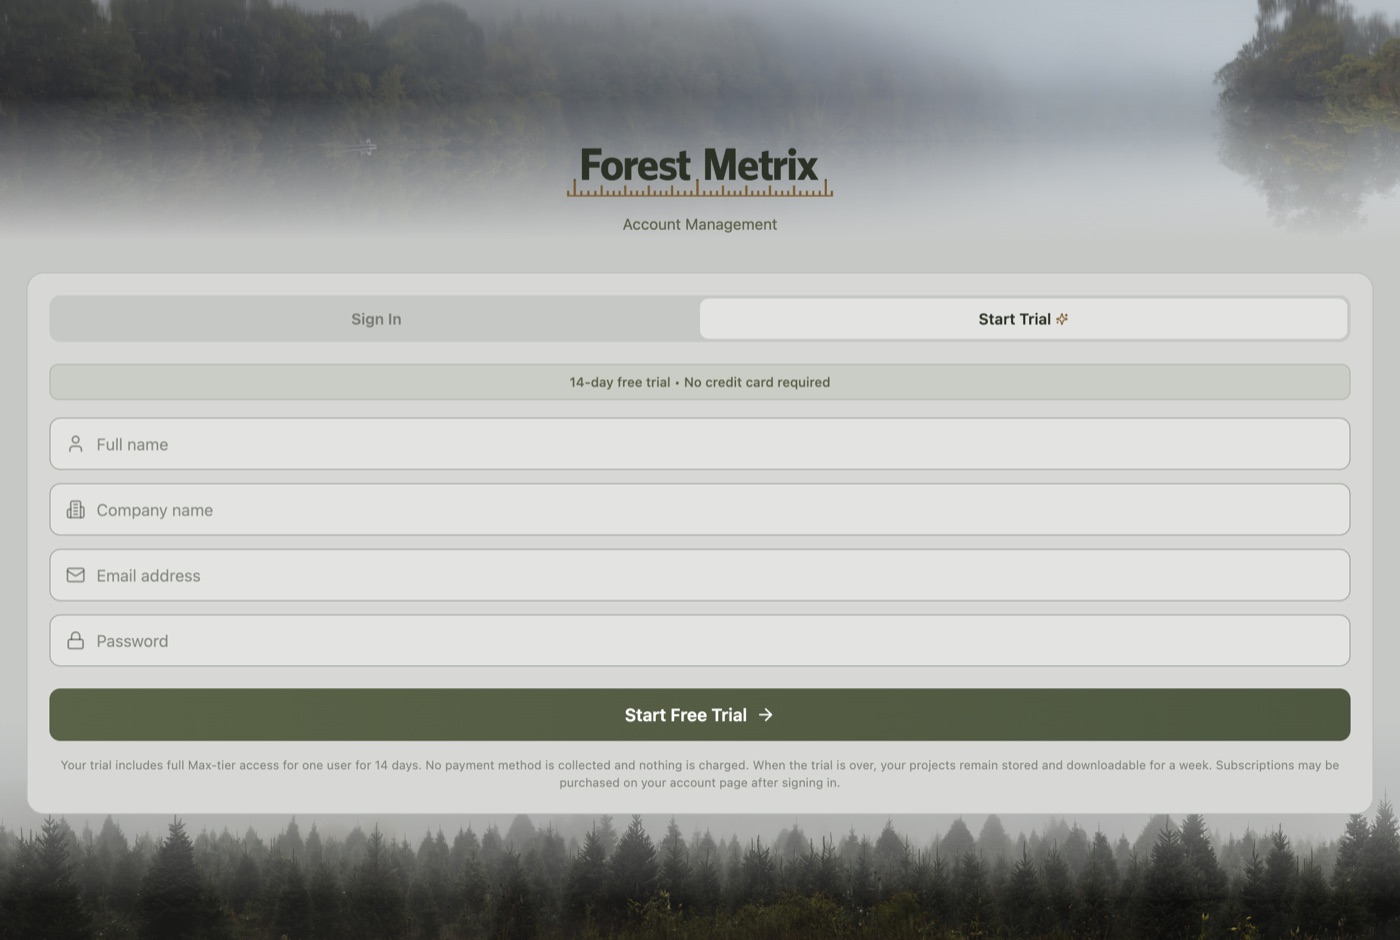
- Create the account. On the account website, open Start Trial and enter your name, company name, email address and a password. If your company already has an account, ask your administrator to add you instead.
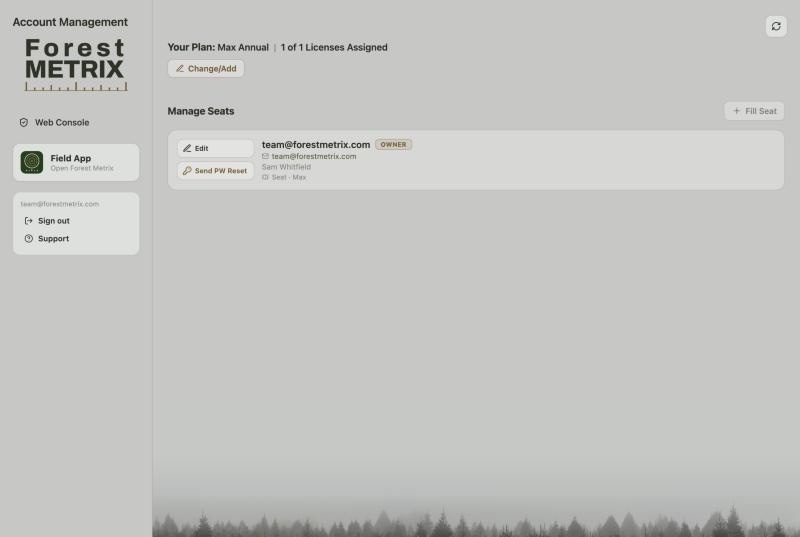
- Add the people who will cruise. The person who created the account is its owner. On the account page, the owner (or an administrator) assigns each person a seat with Fill Seat, using that person’s email address. If every seat is taken, the page says so; adjust the number of seats first, then add the person.
- Install the app on each phone or tablet and sign in with the same email address and password (section 1.4).
On the account page
- Manage Seats lists everyone with a seat. Edit changes a person’s details and Send PW Reset emails them a password reset link.
- Field App and Web Console open the app on the web and the Office pages, already signed in.
- Support lists ways to reach us.
Each seat is good for one phone or tablet at a time, as well as one computer (section 1.4).
1.2What Forest Metrix does
Forest Metrix is a timber cruising app. You navigate a property, add plots, and tally trees on your phone or tablet, then turn that data into stand and tract reports, stocking figures, product volumes and stumpage values.
Your work is organized the way a cruise is: a project covers one property or job; a project is divided into stands; each stand holds plots; and each plot holds the trees you tally there, along with any regeneration, coarse woody material, snags, notes and photos.
On a phone or tablet, everything you enter is saved on the device first. You can cruise all day with no signal; your changes upload on their own when you are back in coverage, and changes made on your other devices come in the same way. The web version of the app works from the cloud and needs a connection.
1.3Basic, Pro and Max
Forest Metrix comes in three versions. Throughout this manual, features that need more than Basic carry a badge: Pro means Pro or Max, and Max means Max only.
| Version | What it adds |
|---|---|
| Basic | Projects, stands and plots; tree tallying; the standard reports; the Excel workbook export. |
| Pro | Maps, GPS tracks and waypoints, offline maps, boundaries and plot grids, stand tools, custom tree and plot fields, regeneration, snags and coarse woody material, custom reports, KML and USFS software exports, data import, FIA tools. |
| Max | NRCS soils, imported PDF and USGS topo maps, high-resolution offline maps, the parcel map, GeoJSON and Shapefile exports, densifying stands, custom volume tables, and Voice Tally. |
Your account administrator manages which version your license includes. The app checks for changes on its own.
1.4Signing in
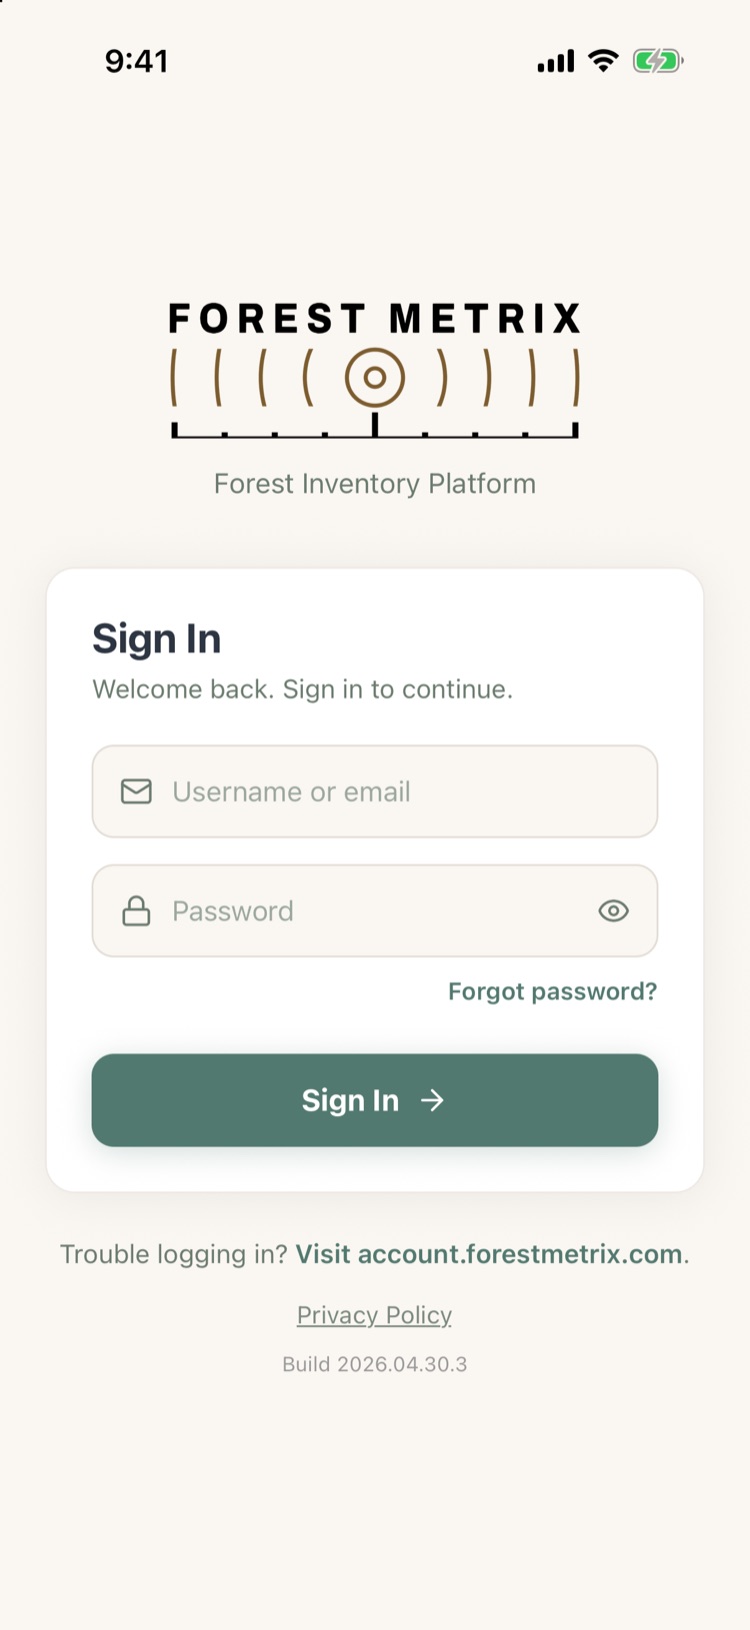
Open Forest Metrix and sign in with your username or email and password. You use the same sign-in in the app, on the web, and on the Office pages.
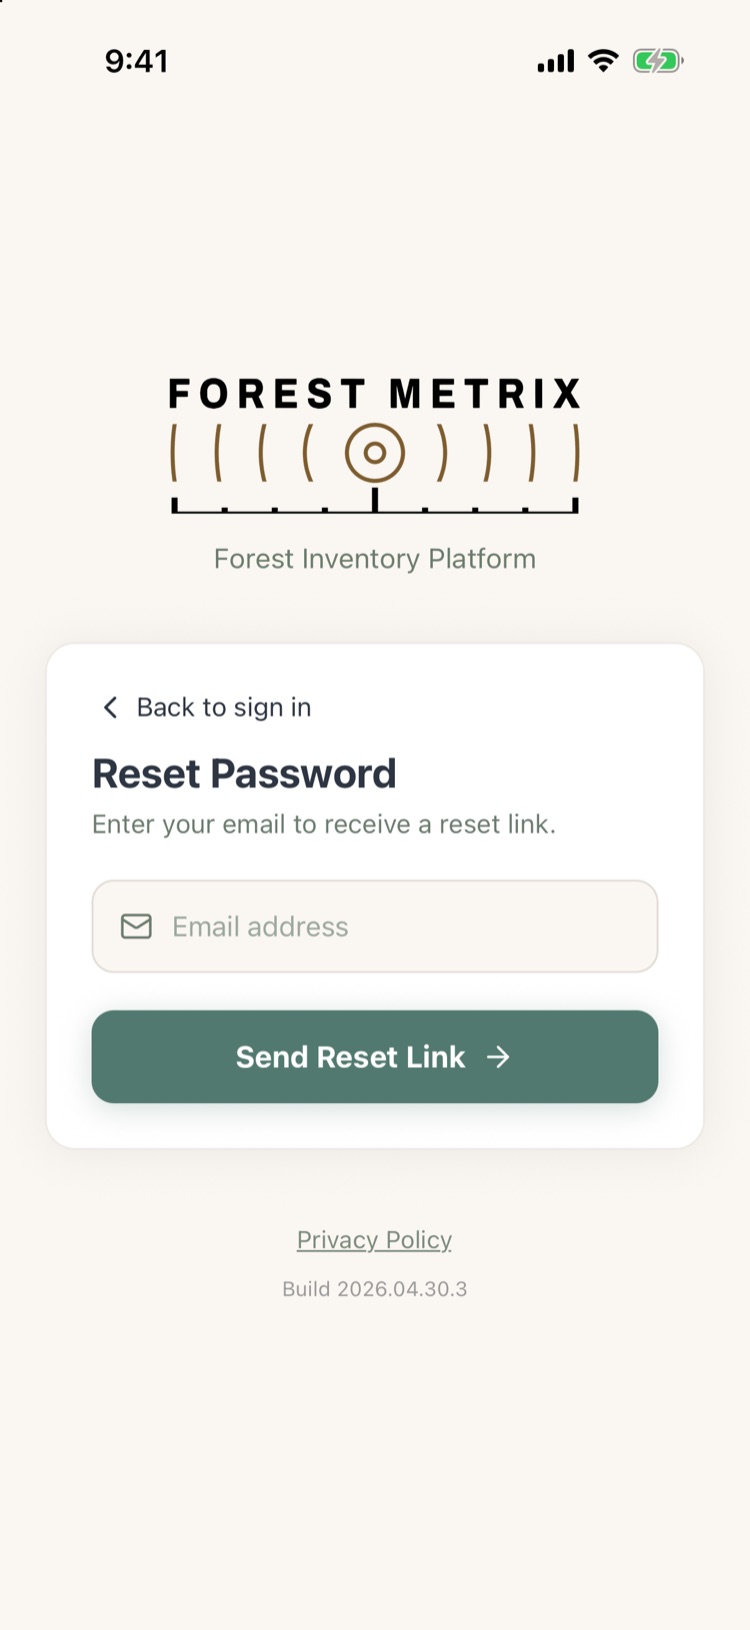
- Forgot password? asks for your email and sends a reset link. Open the link on your phone to set a new password.
- After your first sign-in on a phone, the app offers to turn on Face ID or fingerprint sign-in for next time.
- If the app can’t reach the server but you signed in on this device before, Continue offline opens your projects anyway.
One phone and one computer at a time
You can be signed in on one phone or tablet and one computer at the same time. If you sign in on a second phone, it shows This login is in use and takes over after 30 seconds, or right away if you tap Take over now. The first phone then shows Signed in elsewhere.
1.5The Setup Wizard
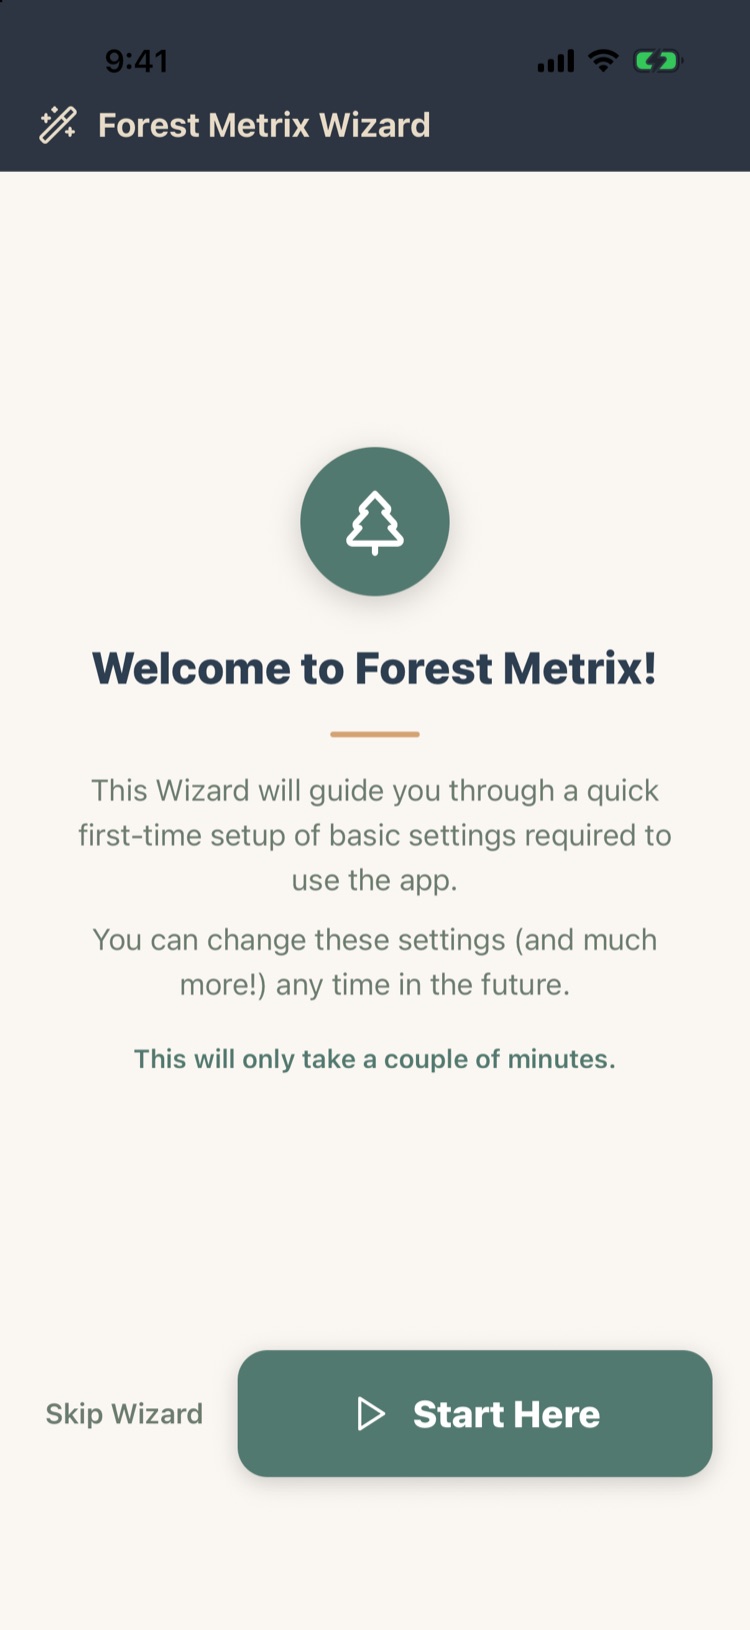
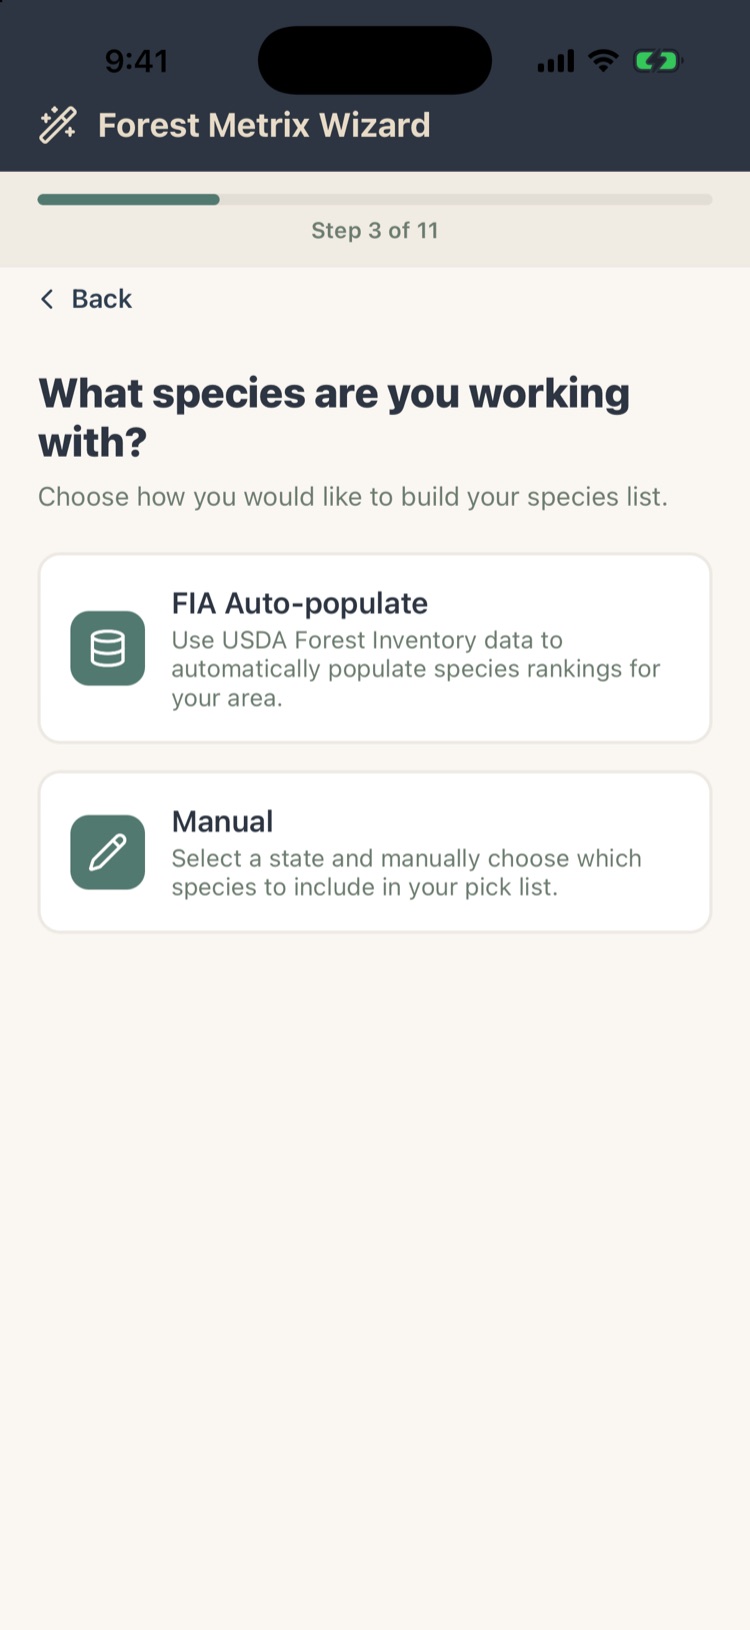
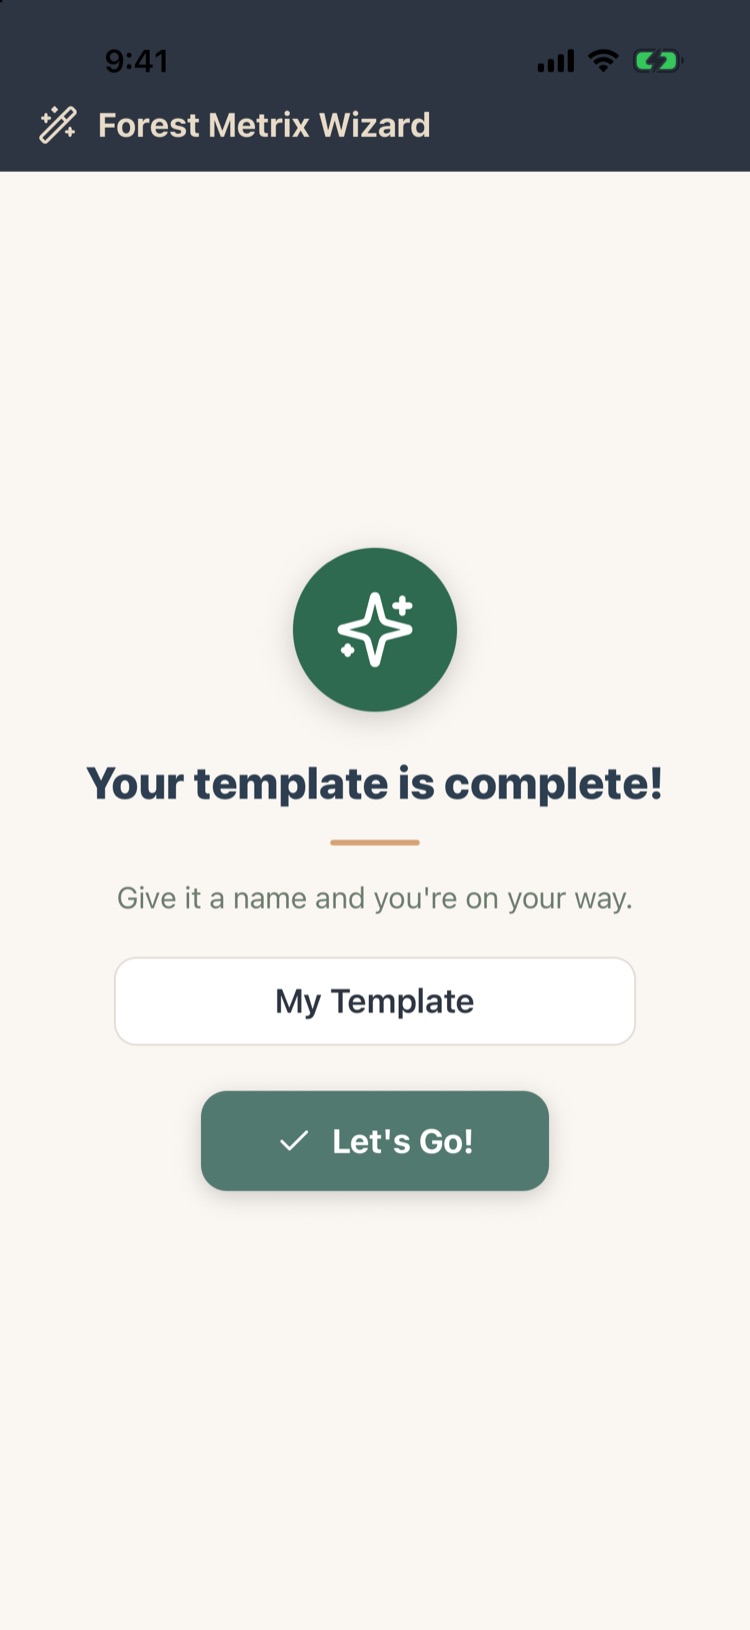
The first time you sign in, the Setup Wizard asks eleven questions about how you cruise and saves the answers as your first template. A template is a set of starting settings that new projects copy. You can change every answer later, so pick what fits most of your work and keep going. Skip Wizard takes you straight to the app, and a template can be created later.
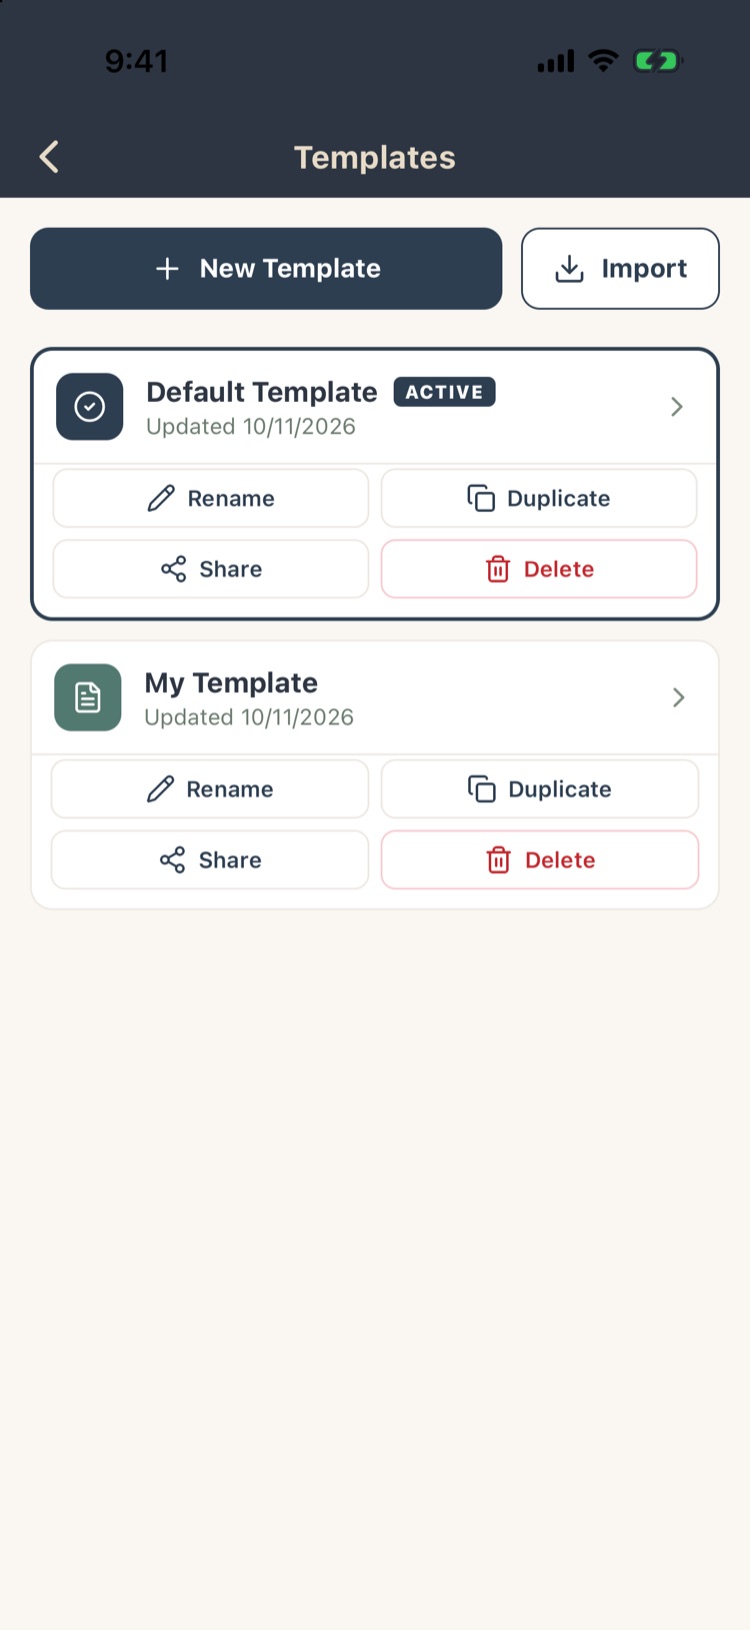
To run it again later without losing anything, go to Settings › Template Settings › New Template and choose From Wizard. That builds an additional template.
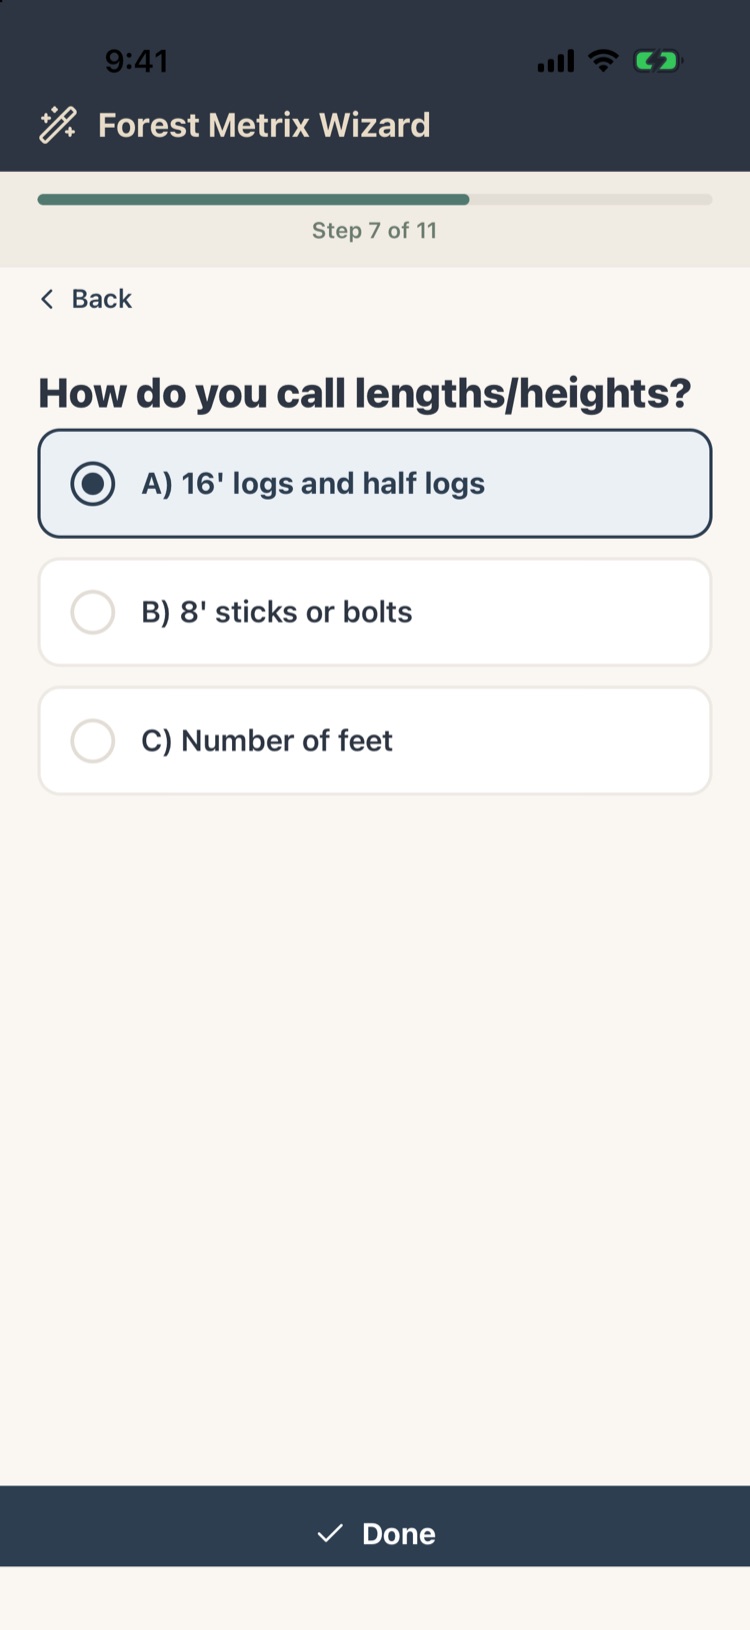
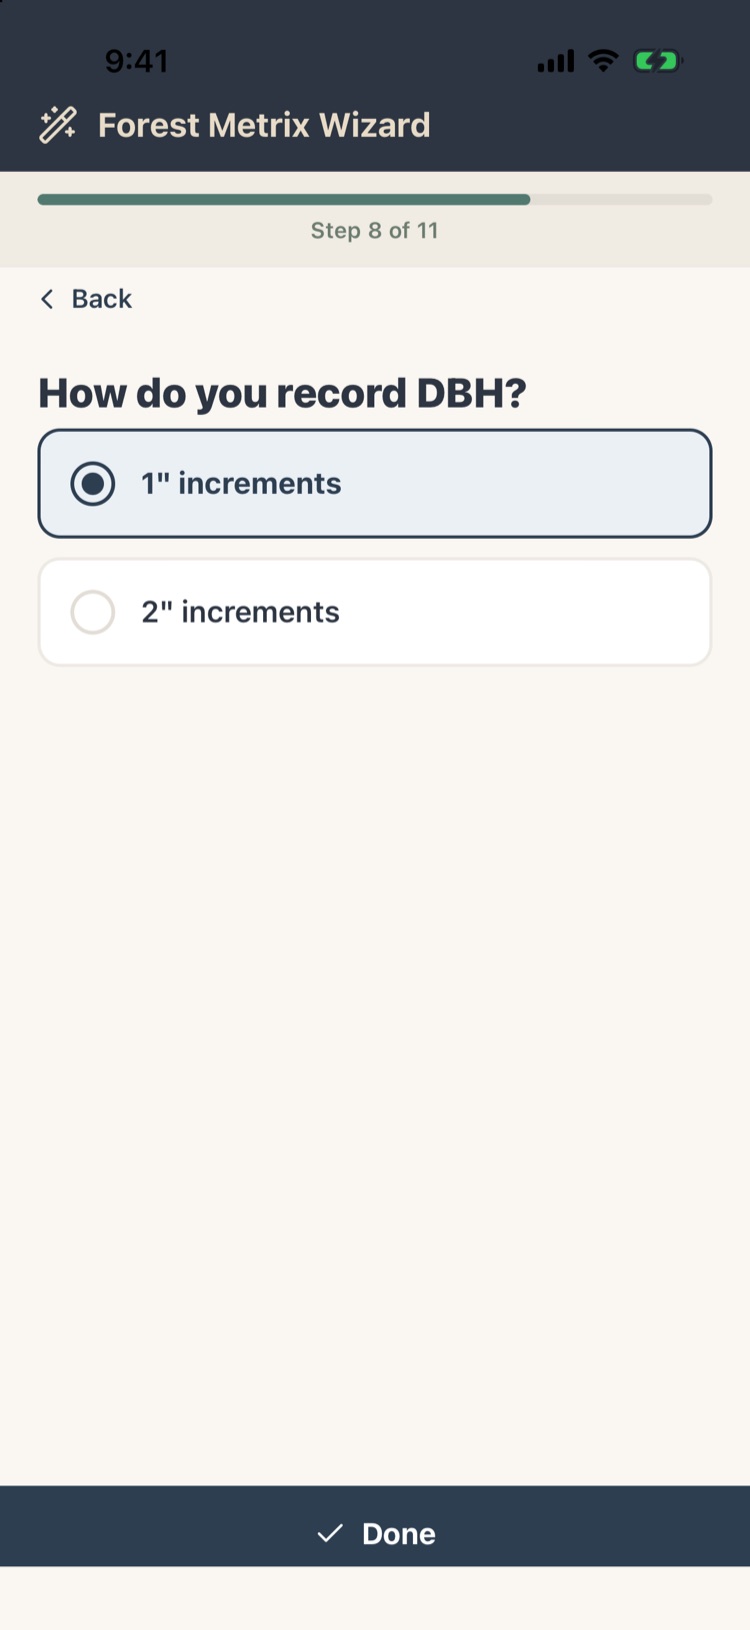
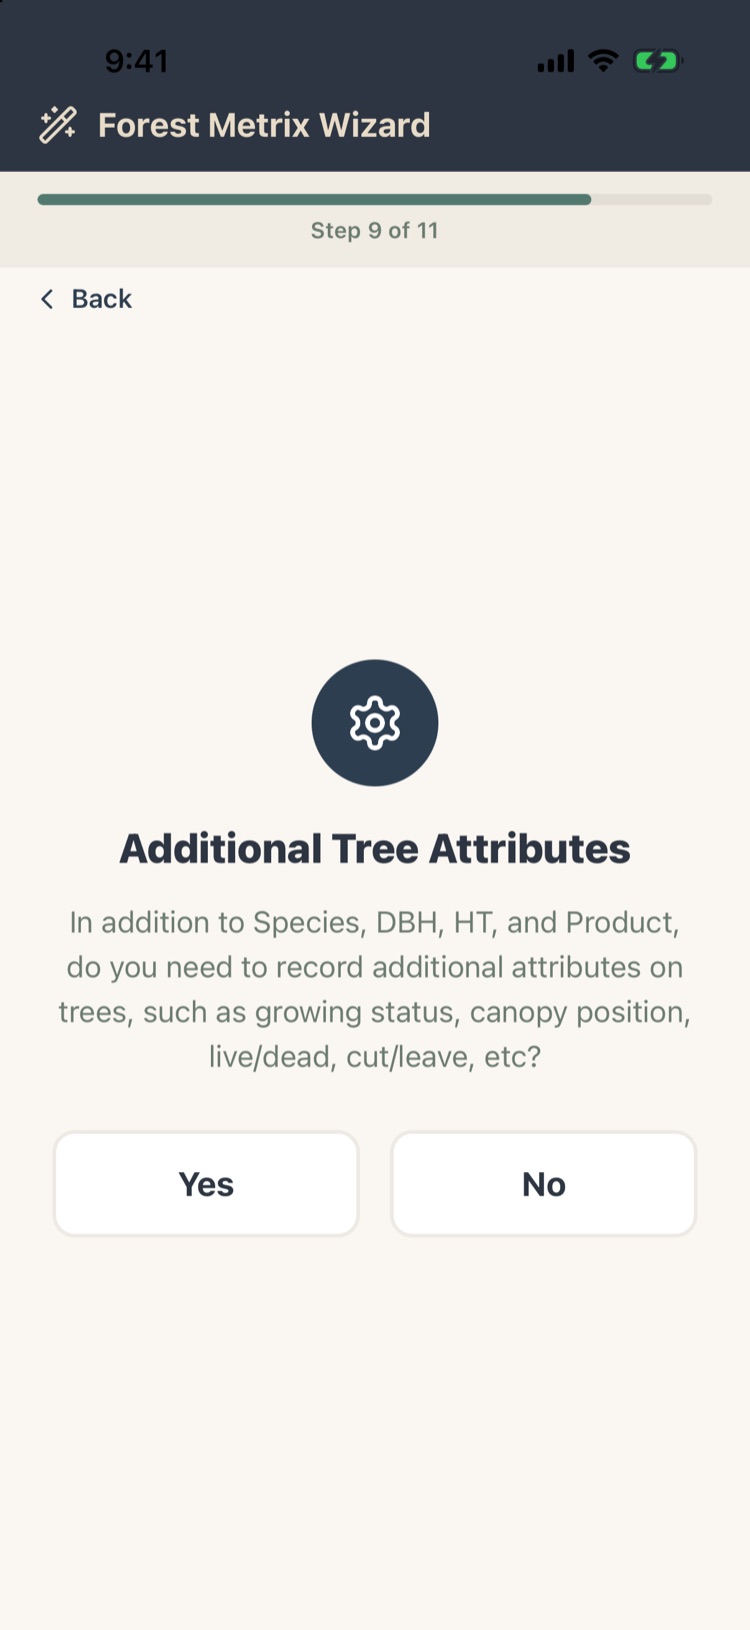
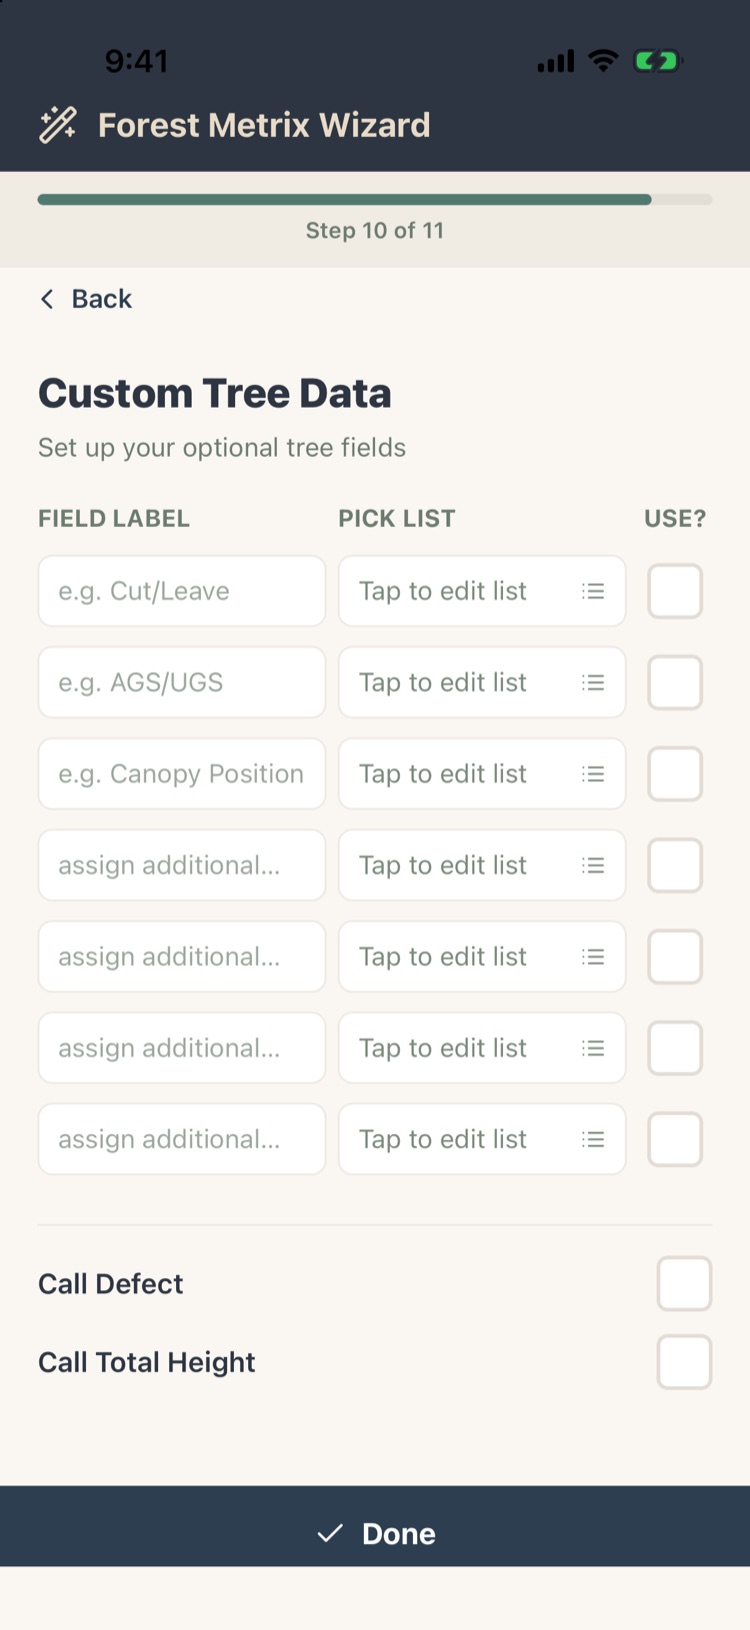
What each step asks
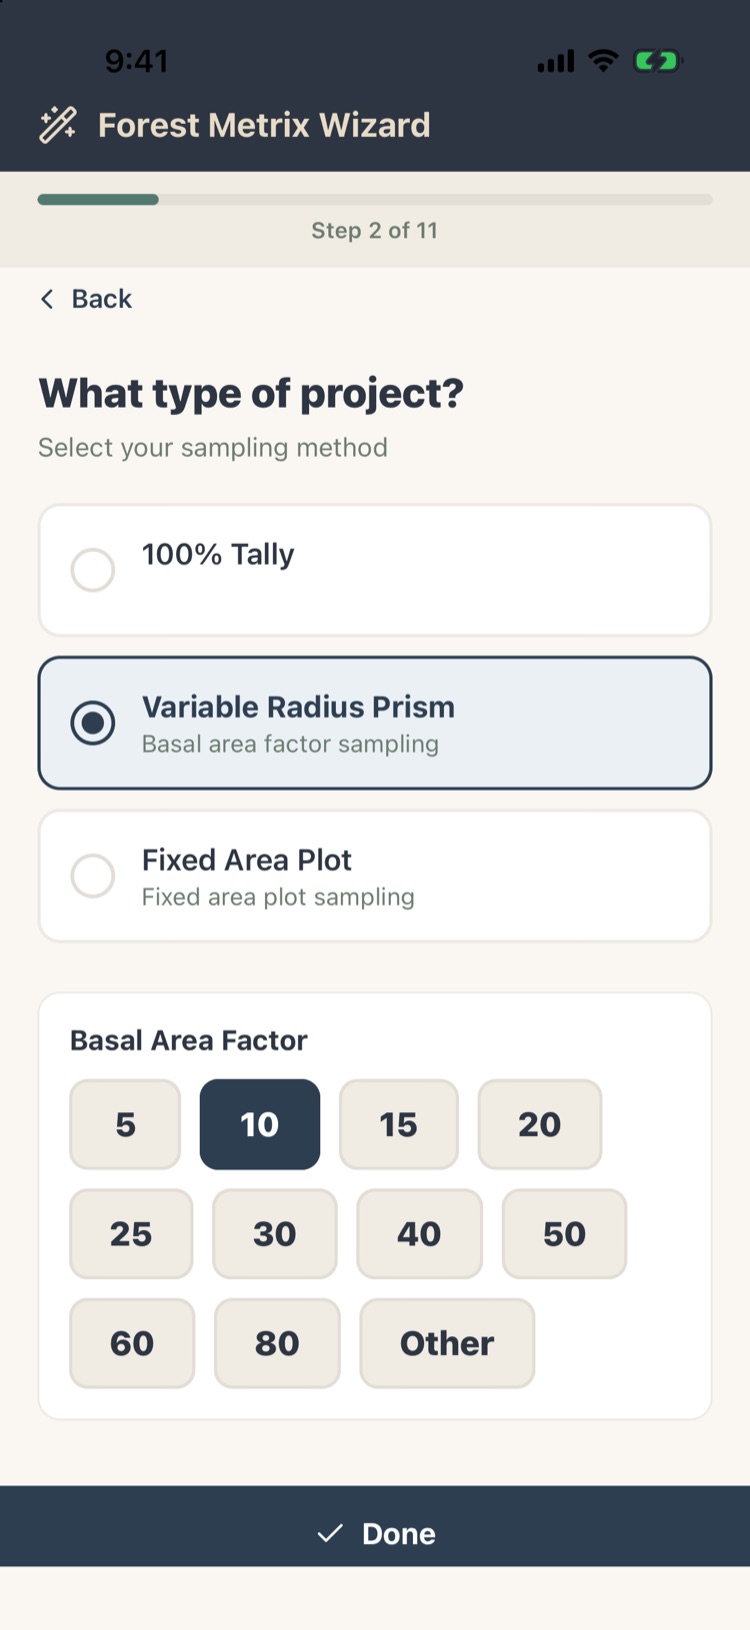
- What type of project? Choose 100% Tally, Variable Radius Prism or Fixed Area Plot. For a prism cruise, tap your basal area factor (5 to 80, or Other). For fixed plots, pick the plot size.
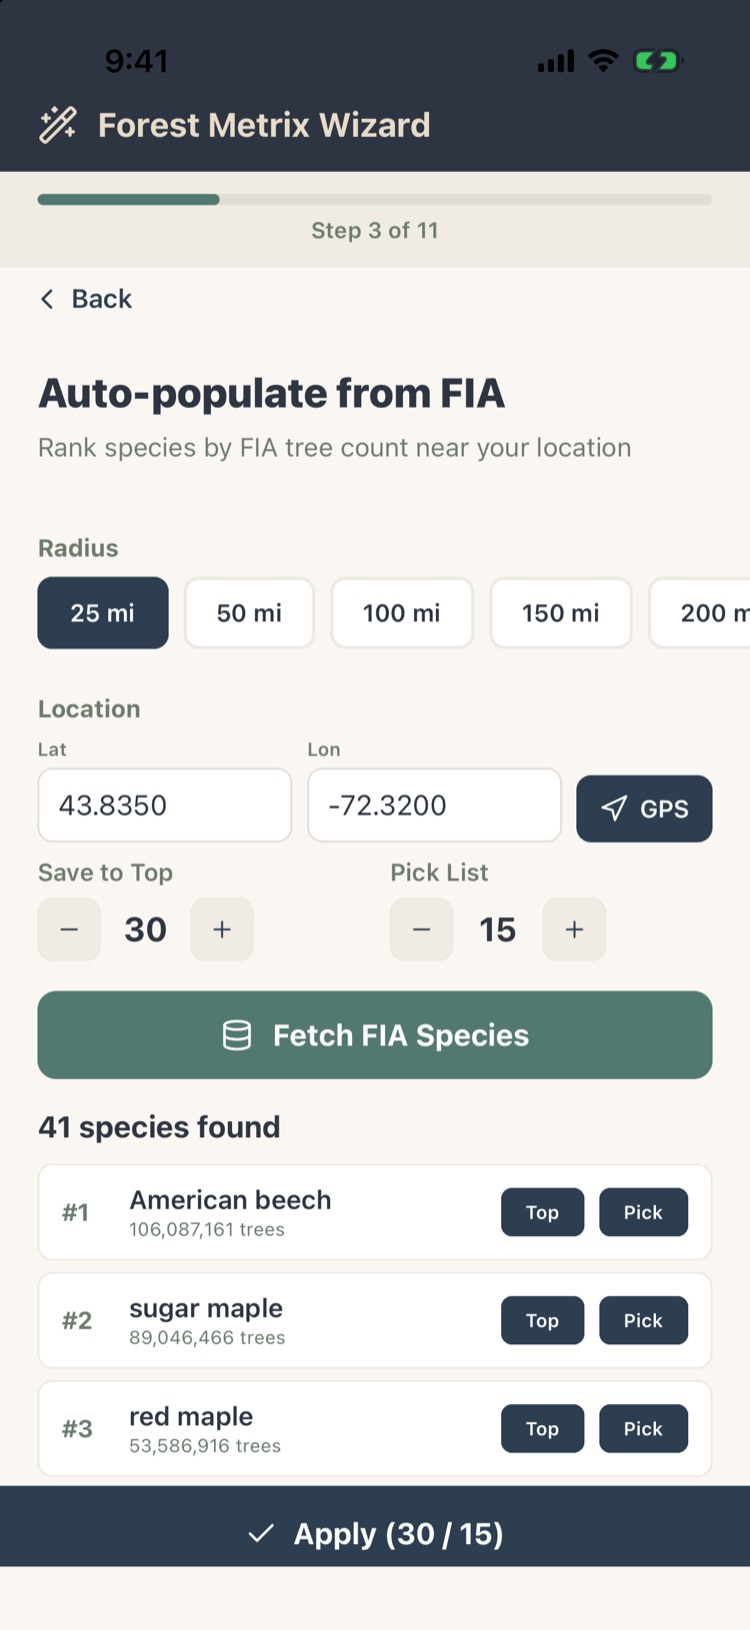
- What species are you working with? FIA Auto-populate looks up the USDA Forest Inventory and Analysis trees around a location. Tap GPS to use where you are, choose a radius, and tap Fetch FIA Species. The most common species go to the top of your list (Save to Top) and into your Pick List. Manual lets you choose a state and pick species yourself.
- Your tree list. Rename any species (the name you choose is used everywhere, including reports) and tick the ones you want in your pick list.
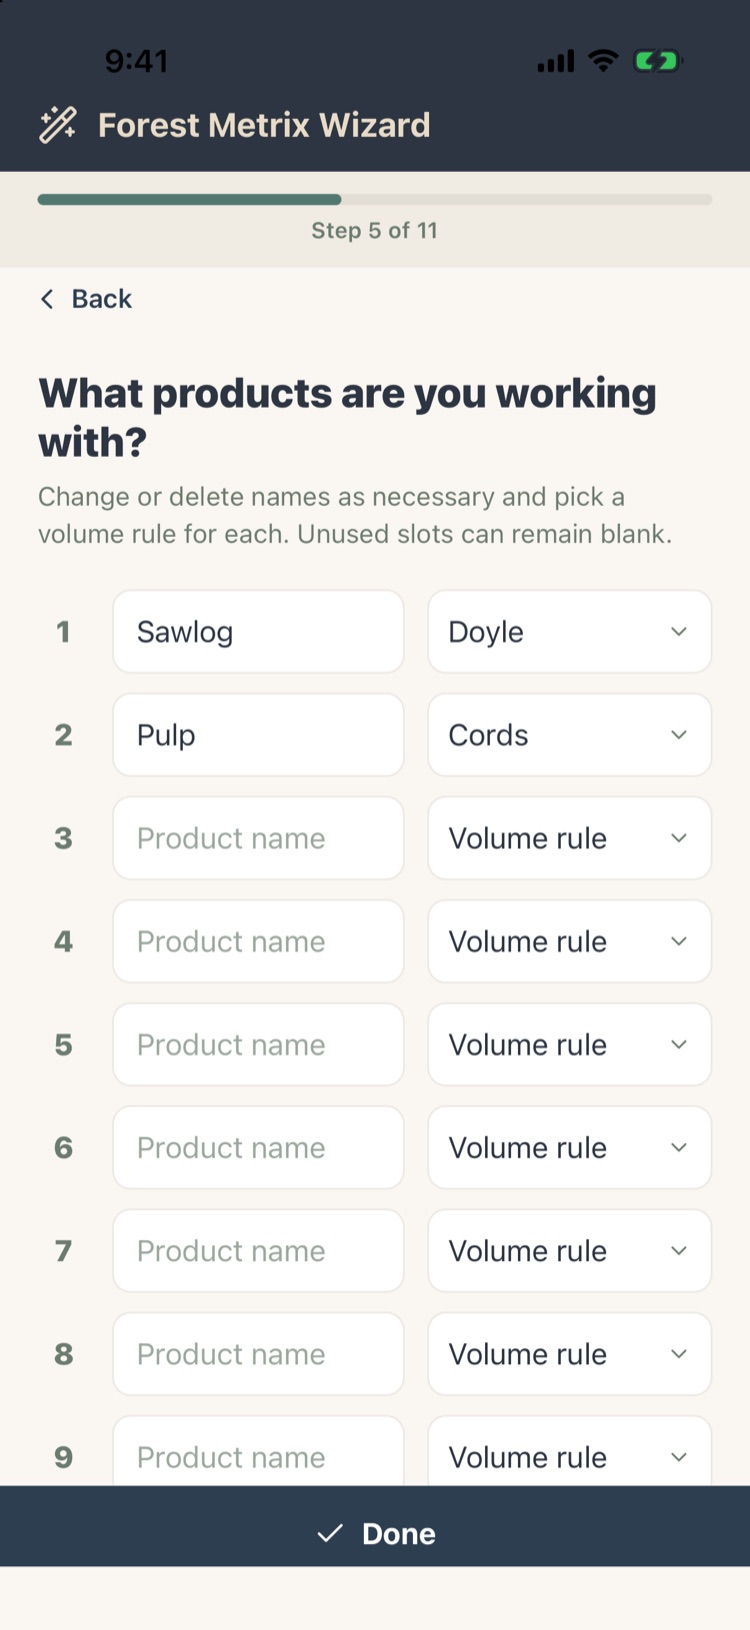
- What products are you working with? Product names, each with a volume rule such as Doyle, Scribner, International ¼", cubic feet, cords or tons.
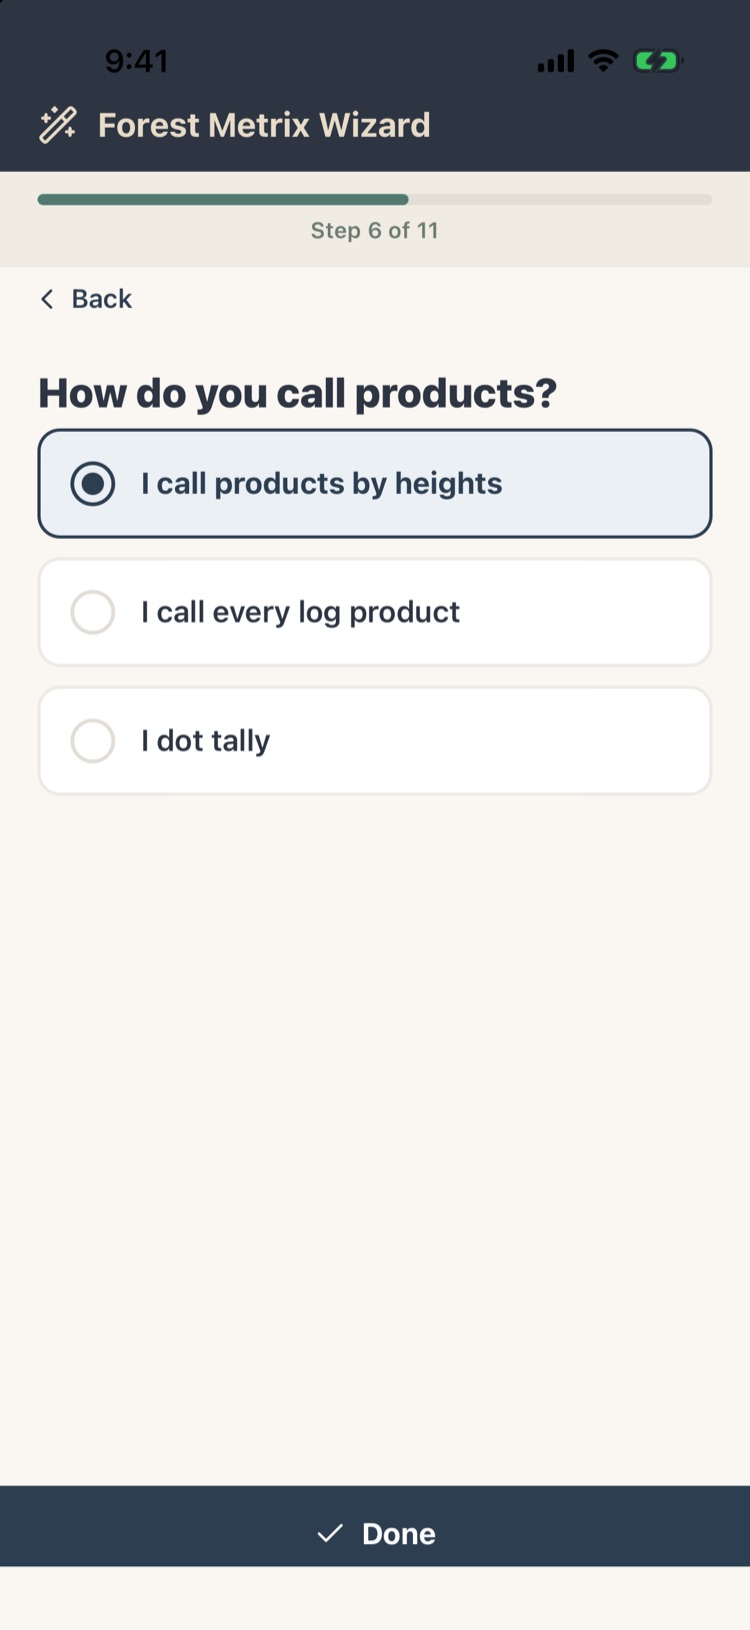
- How do you call products? By heights (pick a product, give its height, then the next product up the tree), every log (each 8' or 16' log gets a product), or Dot Tally (quick DBH-by-height counts). By heights asks for the length first, then the product. To give the product first instead, change Entry Order to Product, then length under Settings › Tree Measurement Method (Chapter 5, section 5.2); the wizard doesn’t ask this yet.
- How do you call heights? 16' logs and half logs, 8' sticks, or feet.
- How do you record DBH? 1" or 2" classes.
- Additional tree attributes. Answer Yes to set up your own fields, such as cut/leave, AGS/UGS or canopy position, each with an optional pick list. You can also turn on defect and total height here. Manual tree numbers are turned on later, under Settings › Custom Tree Data; you only need them when you assign tree numbers, such as for CFI plots or a high-value timber sale.
- Name your template and tap Let’s Go!
1.6The Projects screen
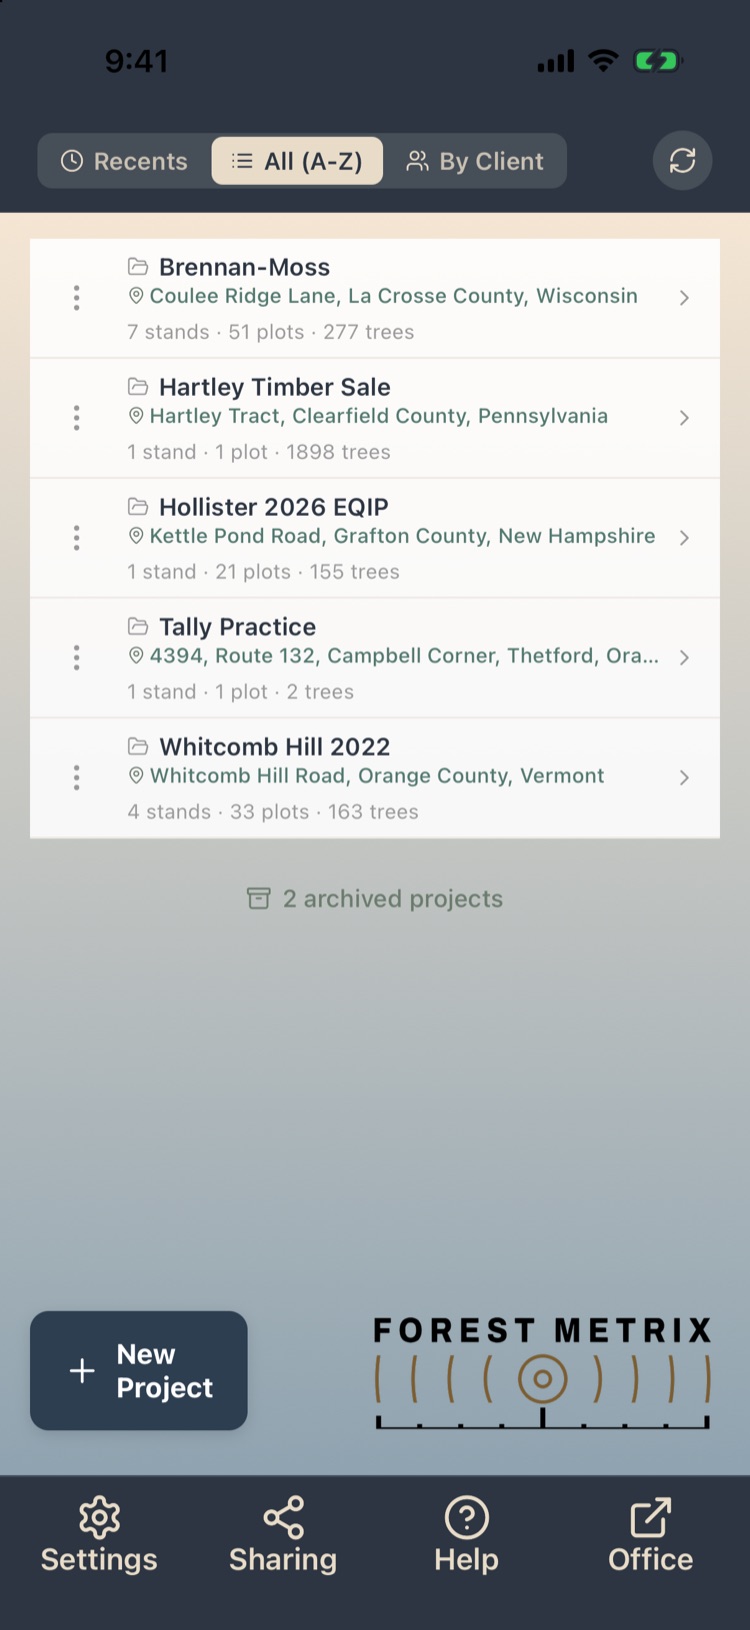
Every project you own or that has been shared with you is listed here. Tap a project to open it.
Each row shows the project name, its location, and how many stands, plots and trees it has. A folder icon means you own the project; a share icon means someone shared it with you.
Sorting
- Recents lists the projects you opened most recently first.
- All (A–Z) lists every project alphabetically.
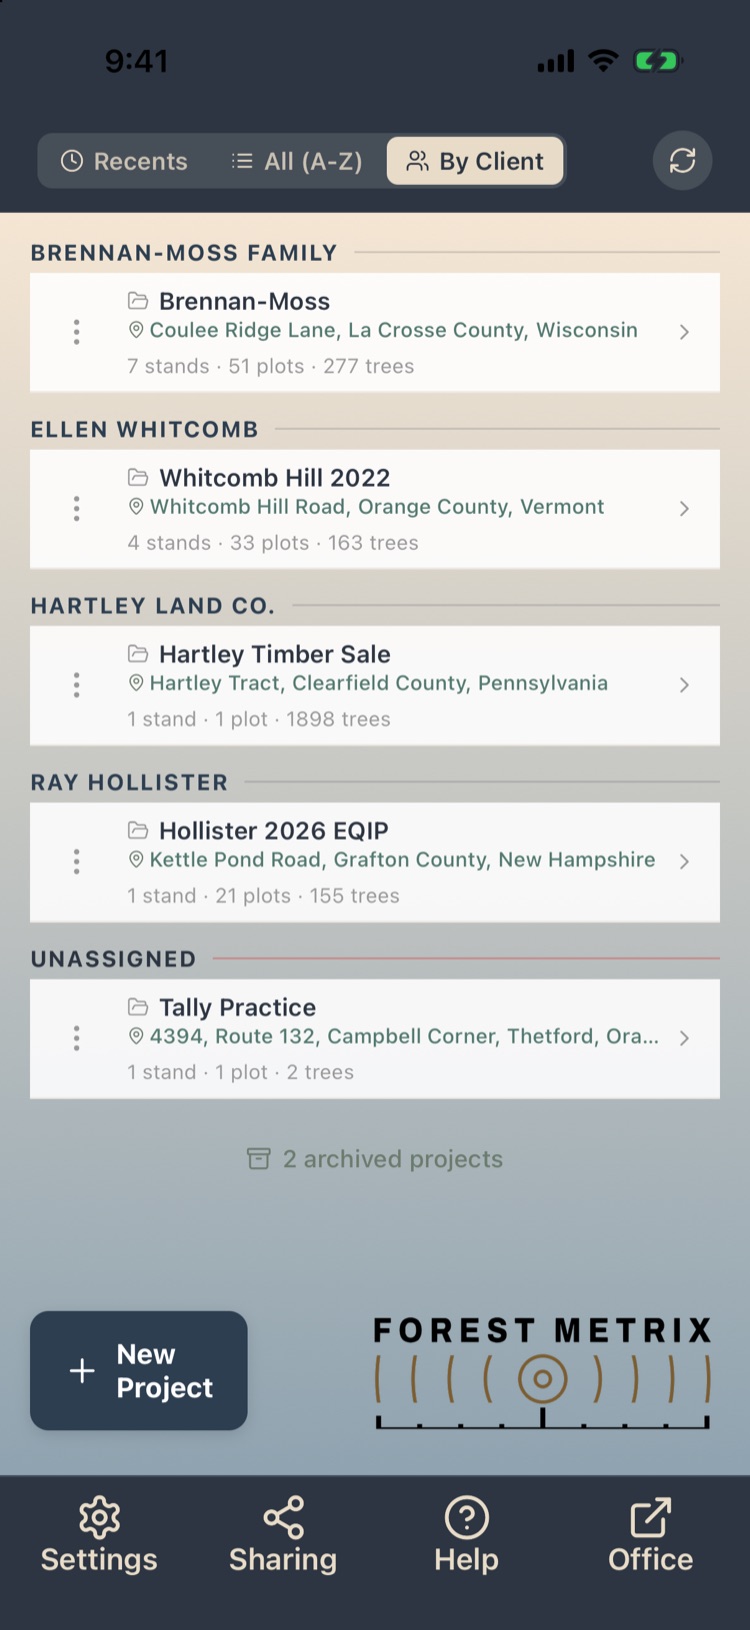
- By Client groups projects under each client or landowner (fig. 1.18).
The round arrow at the top right checks the cloud and syncs every project. Use it when you expect a project from another device or a colleague and it hasn’t yet synced automatically.
Project actions
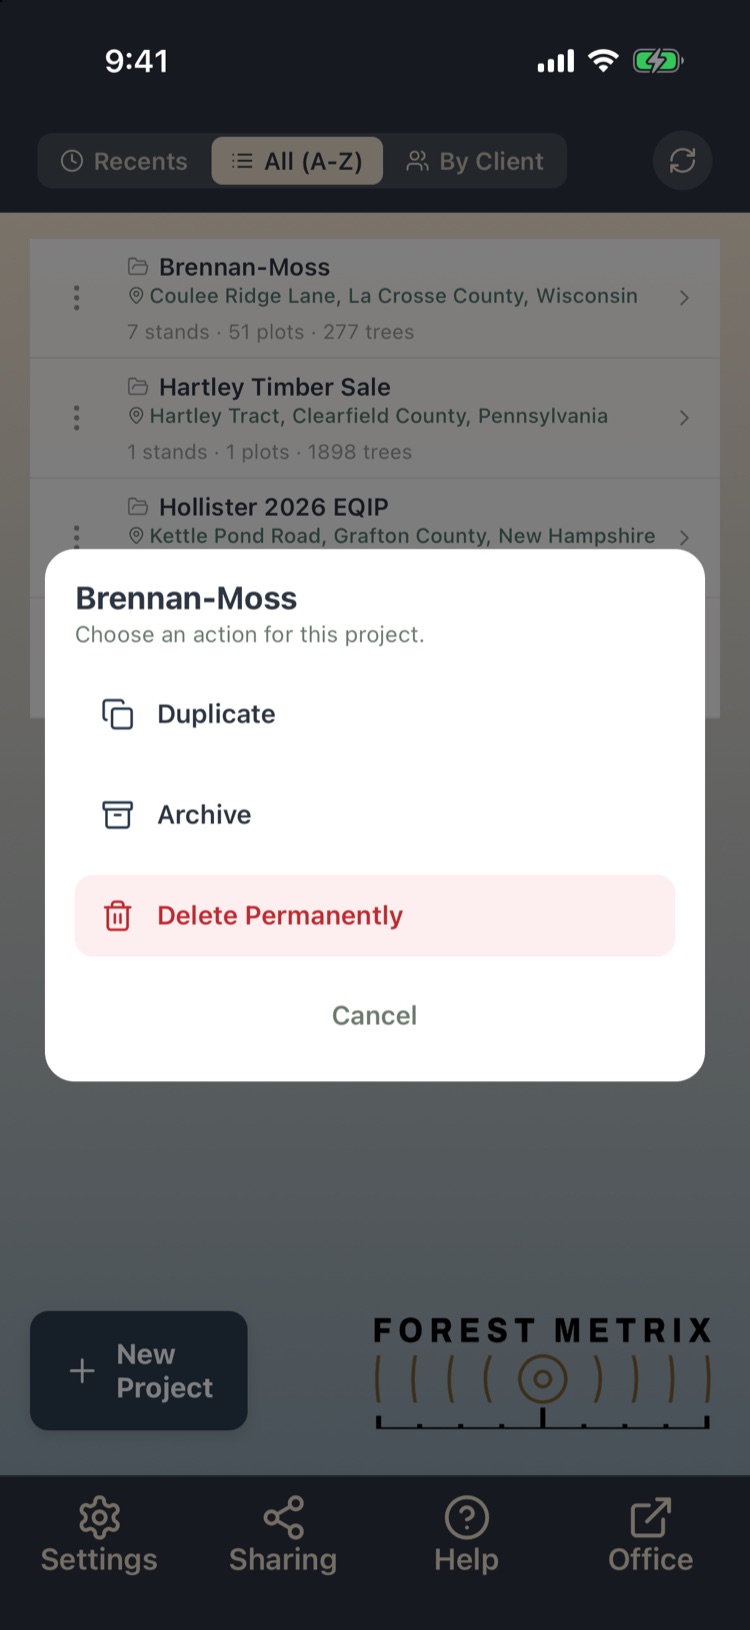
Tap the ⋮ at the left of a row for that project’s actions:
- Duplicate makes a complete copy you can experiment with.
- Archive uploads any unsynced changes, clears that project’s downloaded maps to free storage, and moves it to the archive. Archived projects stay in the cloud. Tap N archived projects at the bottom of the list to restore one.
- Delete Permanently removes the project for good.
For a project shared with you, the only action is Remove Shared Project. It removes your access; the owner’s copy is not affected.
The bottom bar
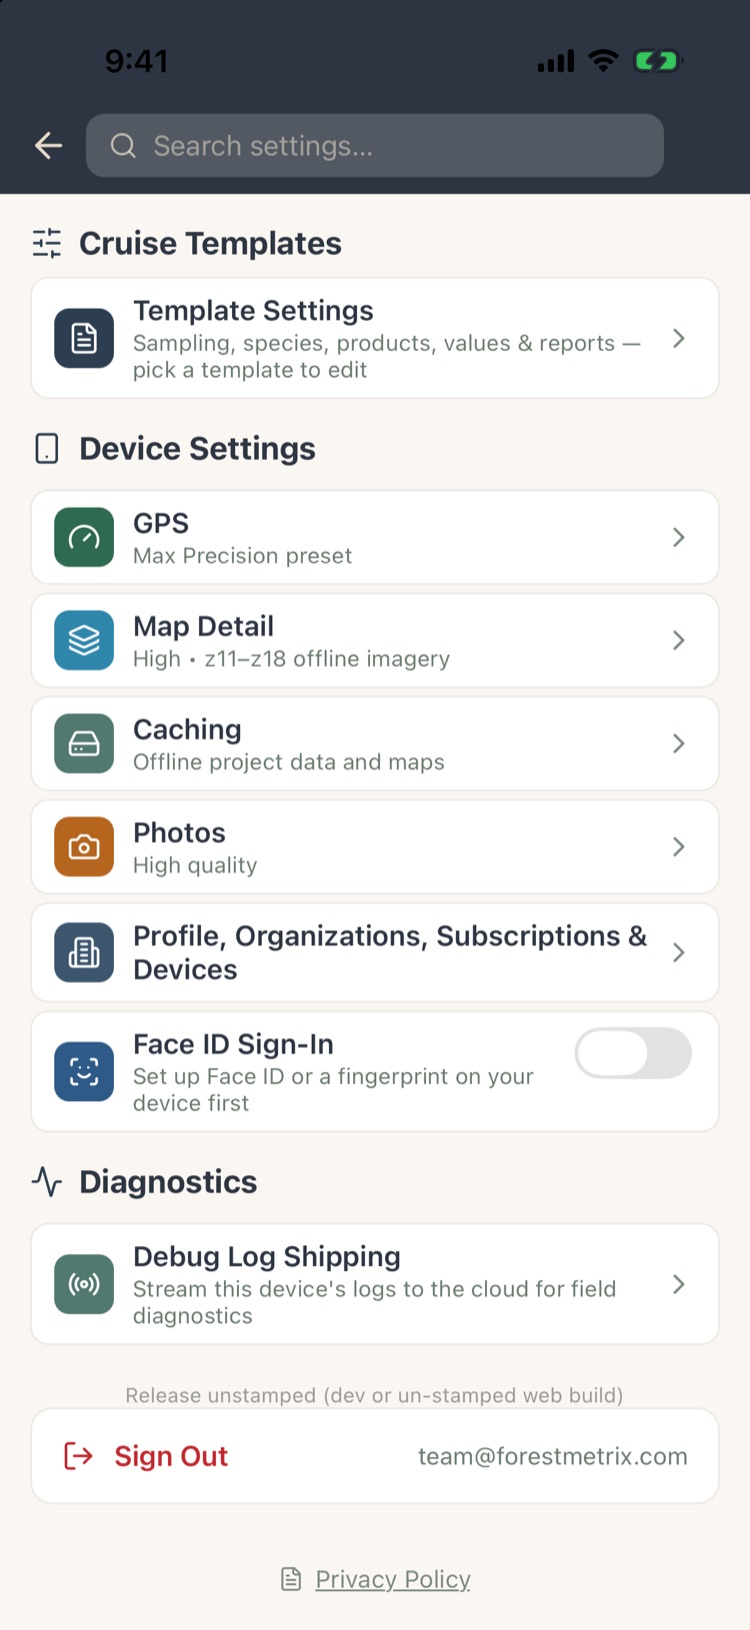
- Settings opens your templates and device settings.
- Sharing shows what you have shared and what has been shared with you.
- Help opens the Quick Start, the Tech Manual and support contacts.
- Office opens the Office pages in your browser, already signed in.
1.7Creating a project
Tap New Project on the Projects screen.
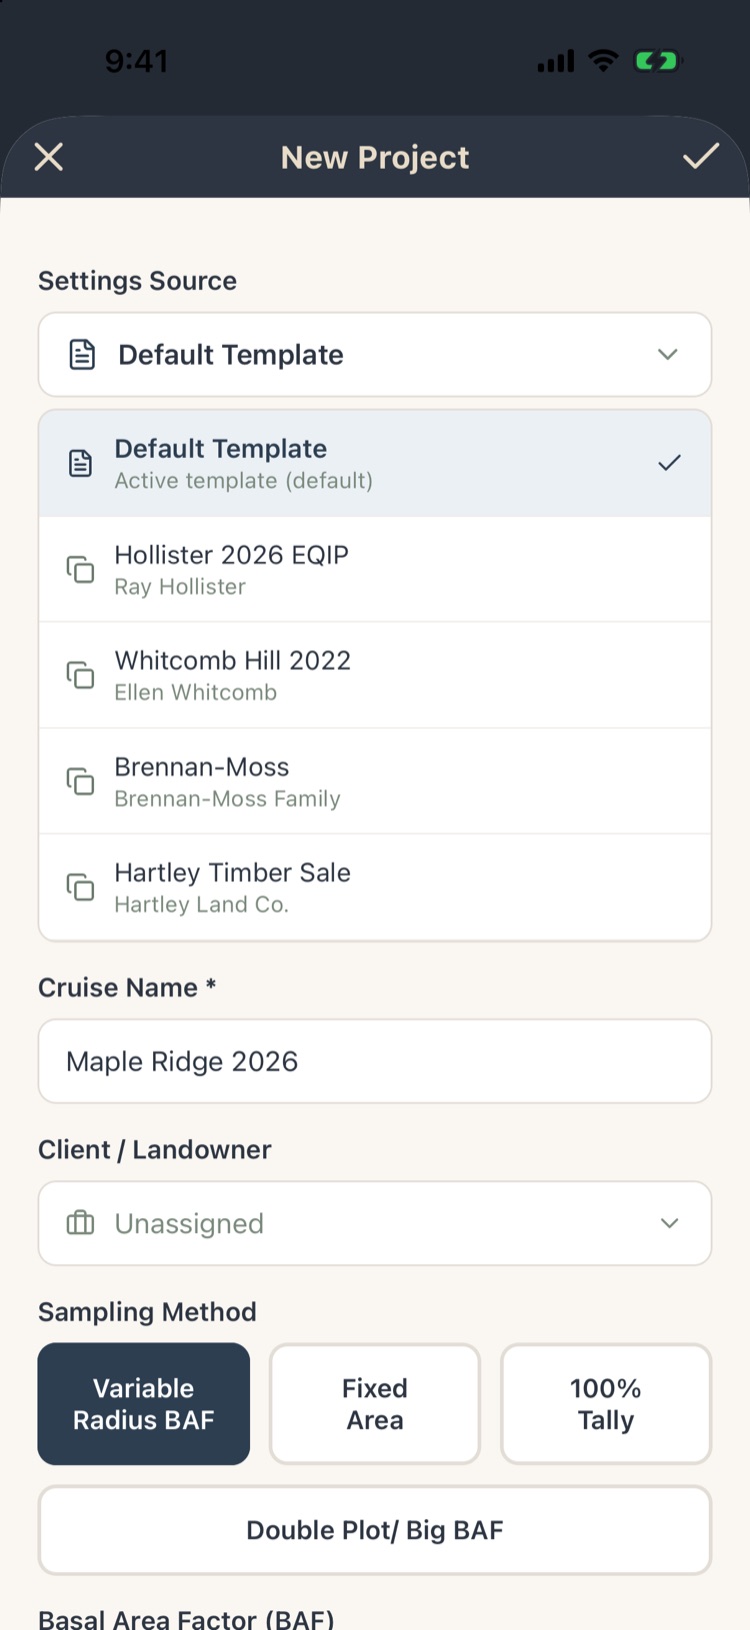
- Settings Source. Choose where the new project’s settings come from your active template, another saved template, or an existing project (useful when the new job matches one you have already cruised).
- Cruise Name. Required, and it must be different from your other projects.
- Client / Landowner. Pick a client, choose New Client to add one, or leave it Unassigned.
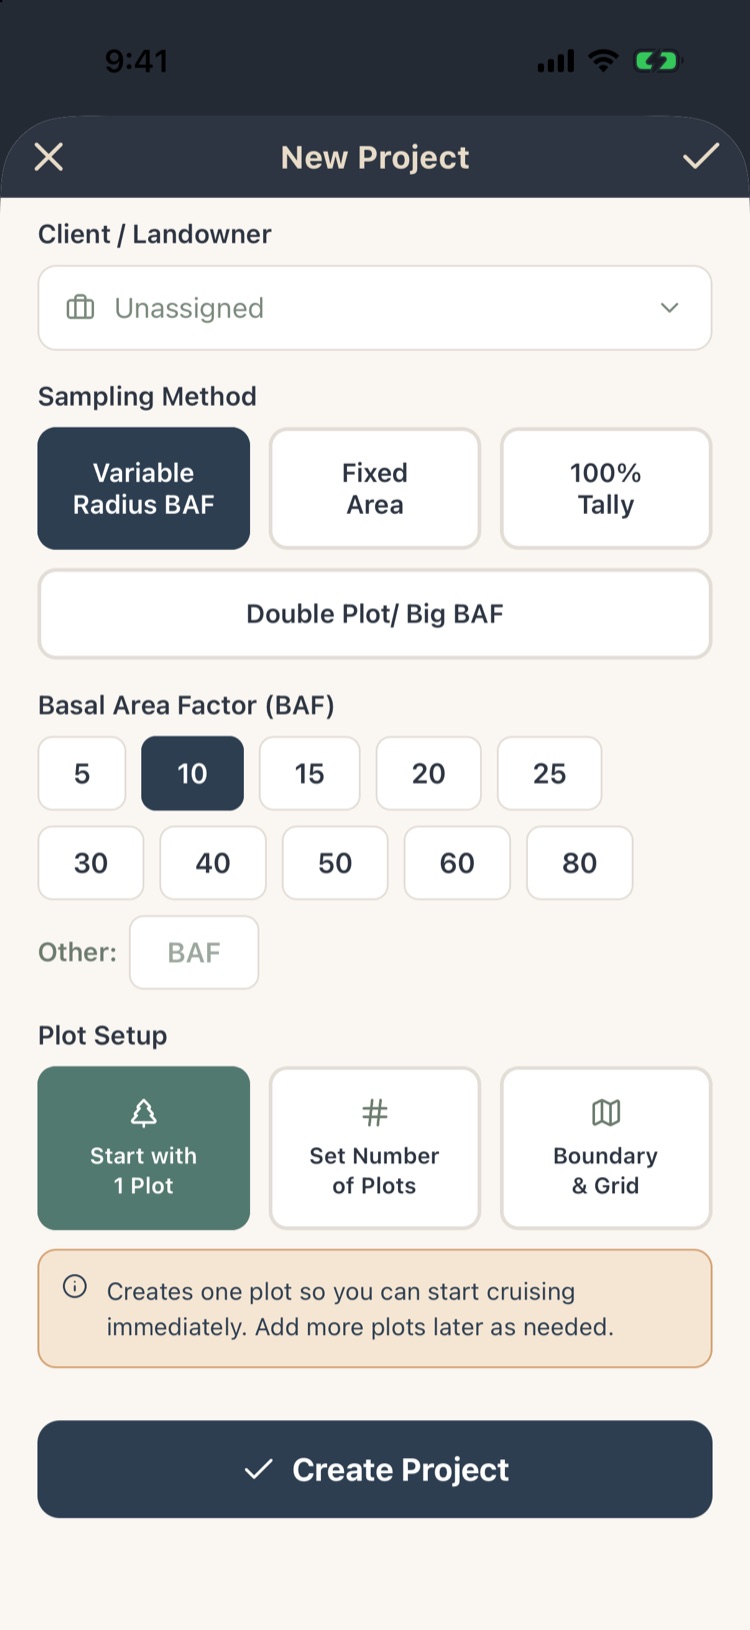
- Sampling Method (see below).
- Plot Setup (see below), then tap Create Project.
Sampling method
| Method | What you set | How trees are expanded |
|---|---|---|
| Variable Radius BAF | The basal area factor of your prism or gauge. | Each tally tree represents BAF ÷ its basal area trees per acre. |
| Fixed Area | Plot size, from 1/5 to 1/50 acre, or a custom radius in feet. | Each tree represents 1 ÷ plot acres trees per acre. |
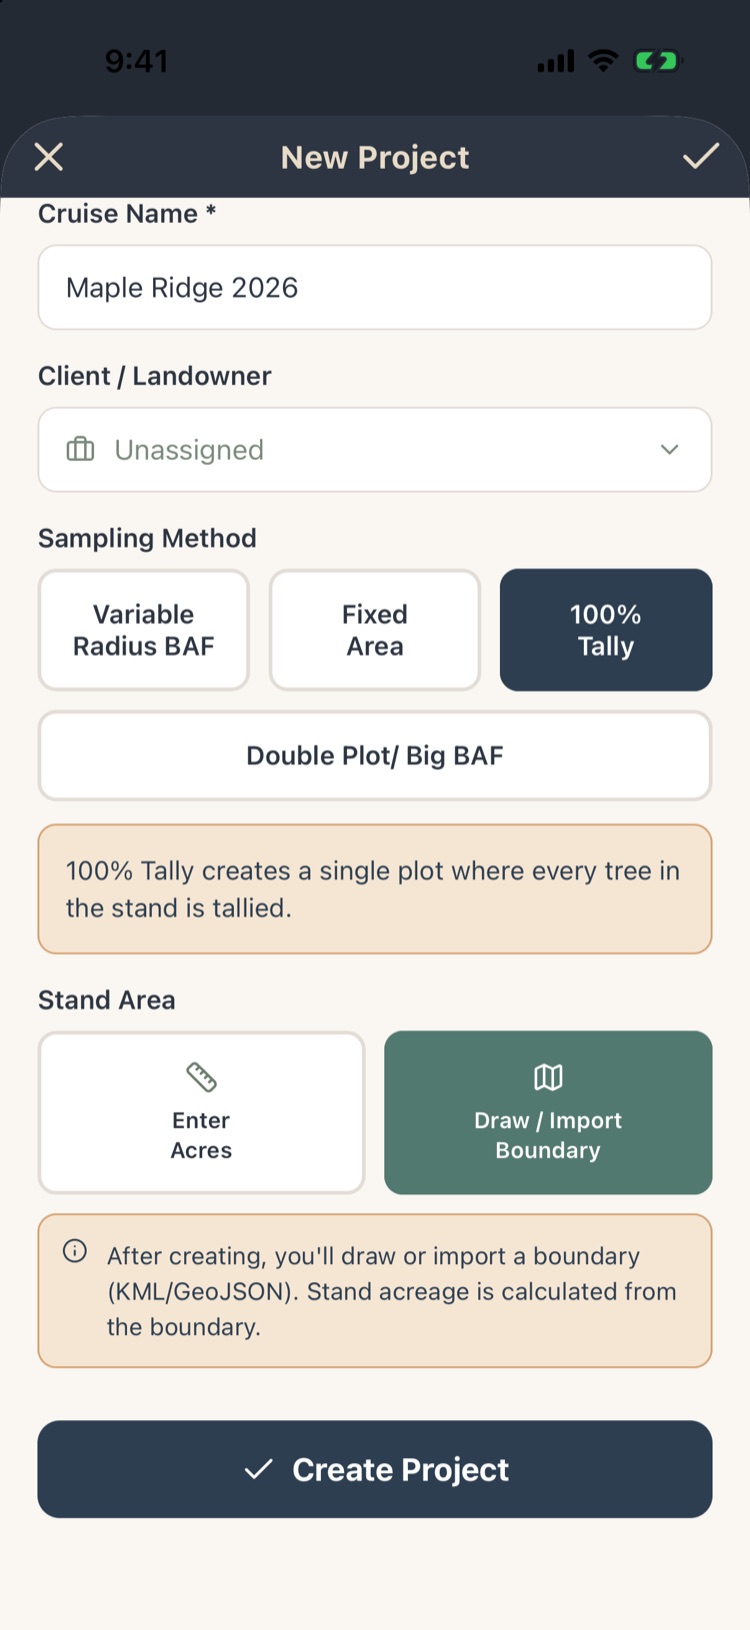
| 100% Tally | The stand’s acres, typed in or taken from a boundary. | Per-acre values are total trees ÷ acres. No sampling error. |
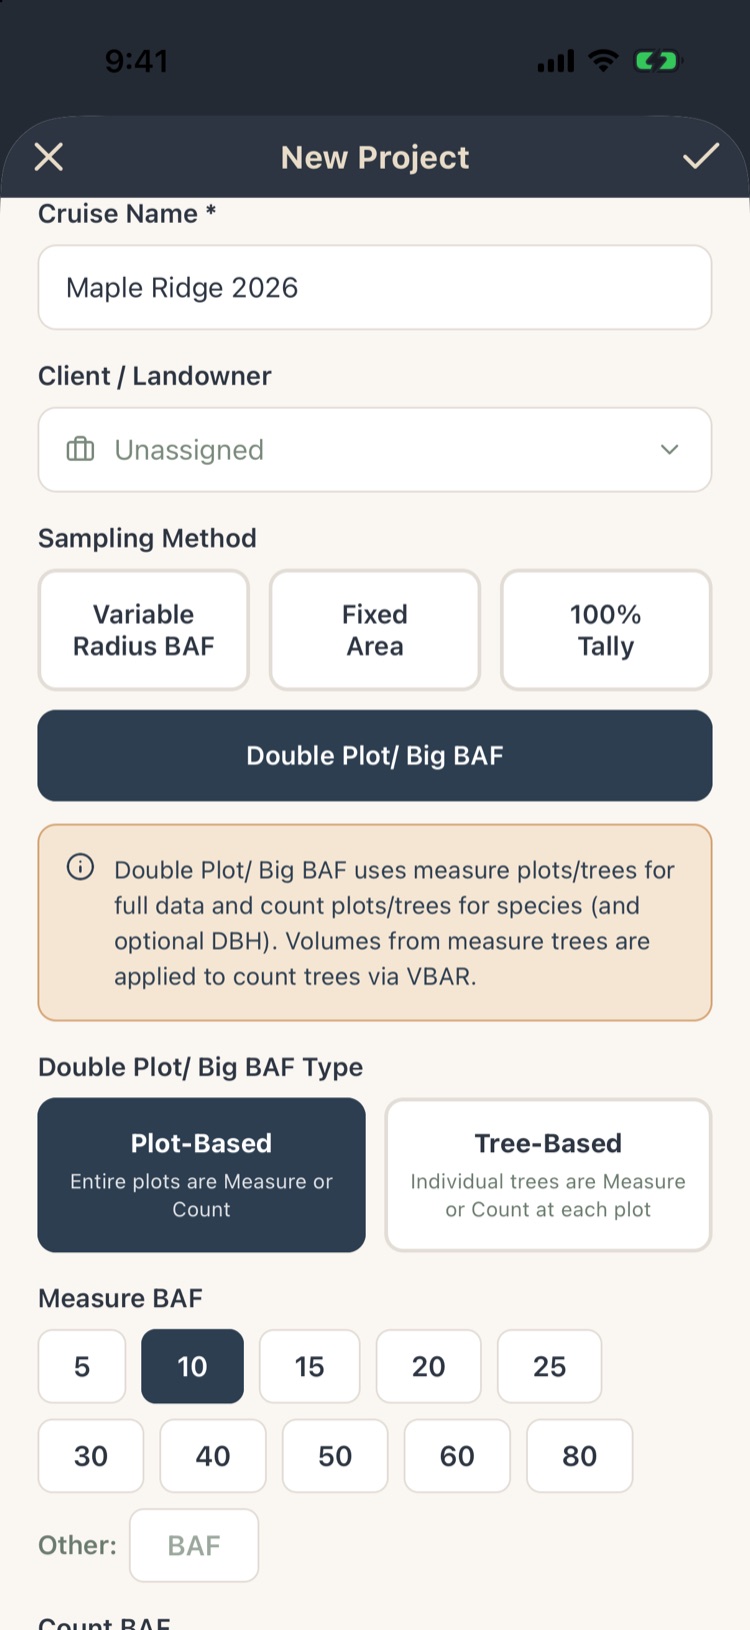
| Double Plot / Big BAF | Plot-based or tree-based, a Measure BAF and a Count BAF. | Measured trees set the volume per unit of basal area; counted trees carry it to the whole sample. |
You can change the method later in Edit Project. A stand can also use a different method from the rest of the project (Chapter 3).
Plot setup
- Start with 1 Plot creates one plot so you can start cruising right away and add plots as you go.
- Set Number of Plots creates that many numbered plots.
- Boundary & Grid Pro takes you to the map to draw or import the property boundary, then lay out a plot grid inside it (Chapter 3). With Max and a connection, it opens the parcel map first so you can pick the tax parcel.
For a 100% tally, this section reads Stand Area: choose Enter Acres or Draw / Import Boundary.
1.8Project Home
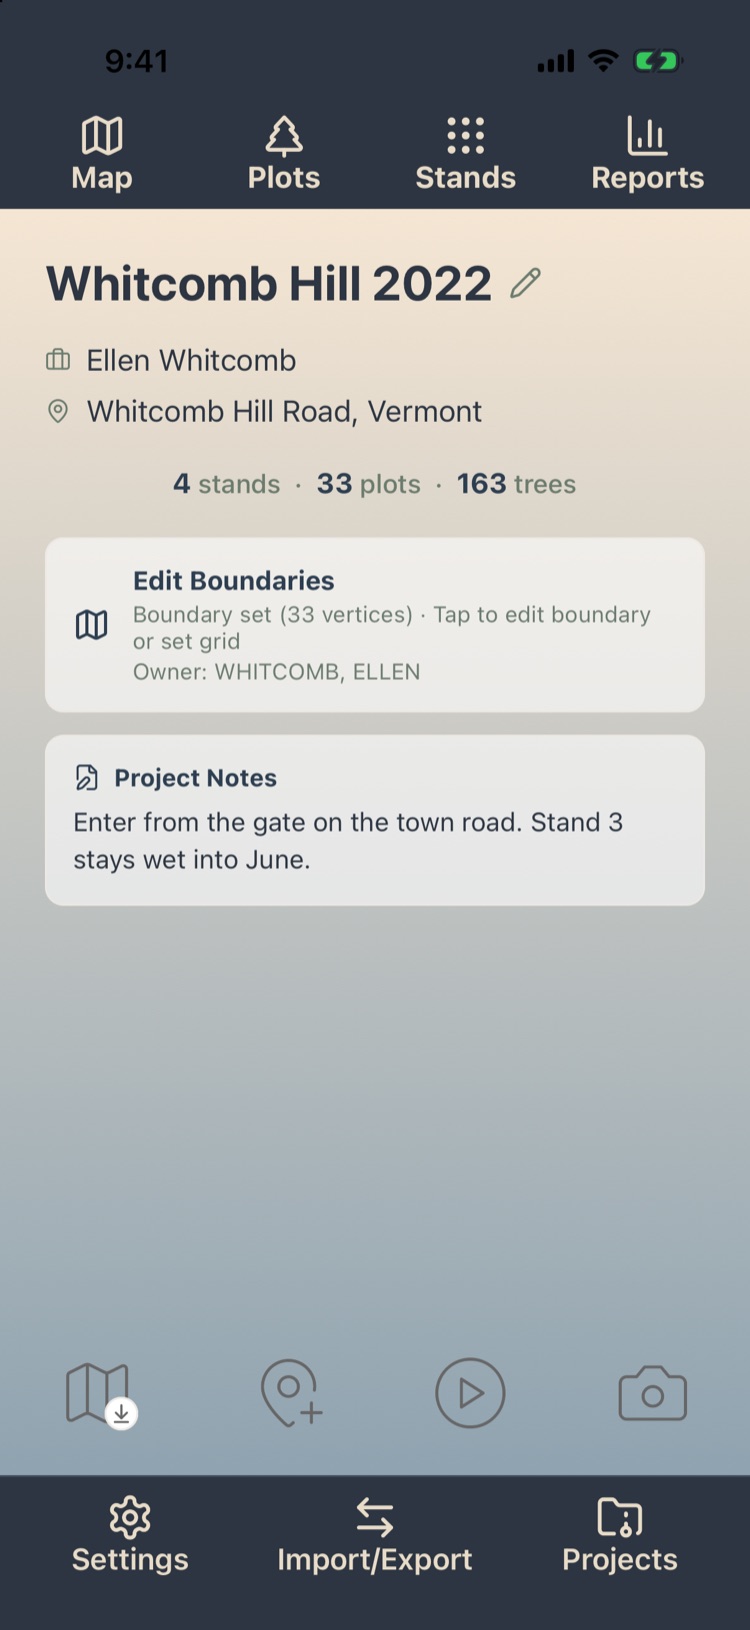
Opening a project takes you to Project Home. Everything in the project starts here.
Top bar
- Map Pro the project map with boundaries, stands, plots, tracks and waypoints (Chapter 7).
- Plots the plot list, where you open a plot to tally it (Chapters 4 and 5).
- Stands your stands and their tools (Chapter 3).
- Reports every report for the project (Chapter 8).
The project card
Tap the project name, client or location to edit them, along with the sampling method and the parcel owner. Below is a count of stands, plots and trees.
- Edit Boundaries Pro shows the boundary’s corners, acres and the parcel owner of record. Tap it to edit the boundary or set up a grid.
- Project Notes holds free-form notes for the whole project.
Quick buttons
Pro The row of icons near the bottom, left to right:
- Save map for offline use. Downloads map imagery for the project area. A check mark means it is saved.
- Add waypoint. Opens the map ready to mark a spot.
- Start track. Records your path while you walk. Tap again to stop.
- Camera. Opens the project’s photos (Chapter 6).
Bottom bar
Settings opens this project’s settings (changes affect this project only), Import/Export holds sharing, copies, imports and every export, and Projects closes the project.
A strip above the bottom bar reports sync: Synced with the time, Syncing…, or Sync pending (tap it for details and a Retry button).
1.9Templates in brief
Settings live in two places:
- Template Settings are your saved starting points. Open Settings from the Projects screen and tap Template Settings. Changing a template affects projects you create from it later, never existing ones.
- Project Settings belong to one project. Inside a project, tap Settings on the bottom bar.
Device settings, such as GPS, offline maps and photo quality, apply to the phone you are holding, on every project. Chapter 10 covers templates and Chapter 11 every setting.