Projects
Change a project’s details, record notes, make copies to experiment with, and put finished work away.
2.1Editing a project
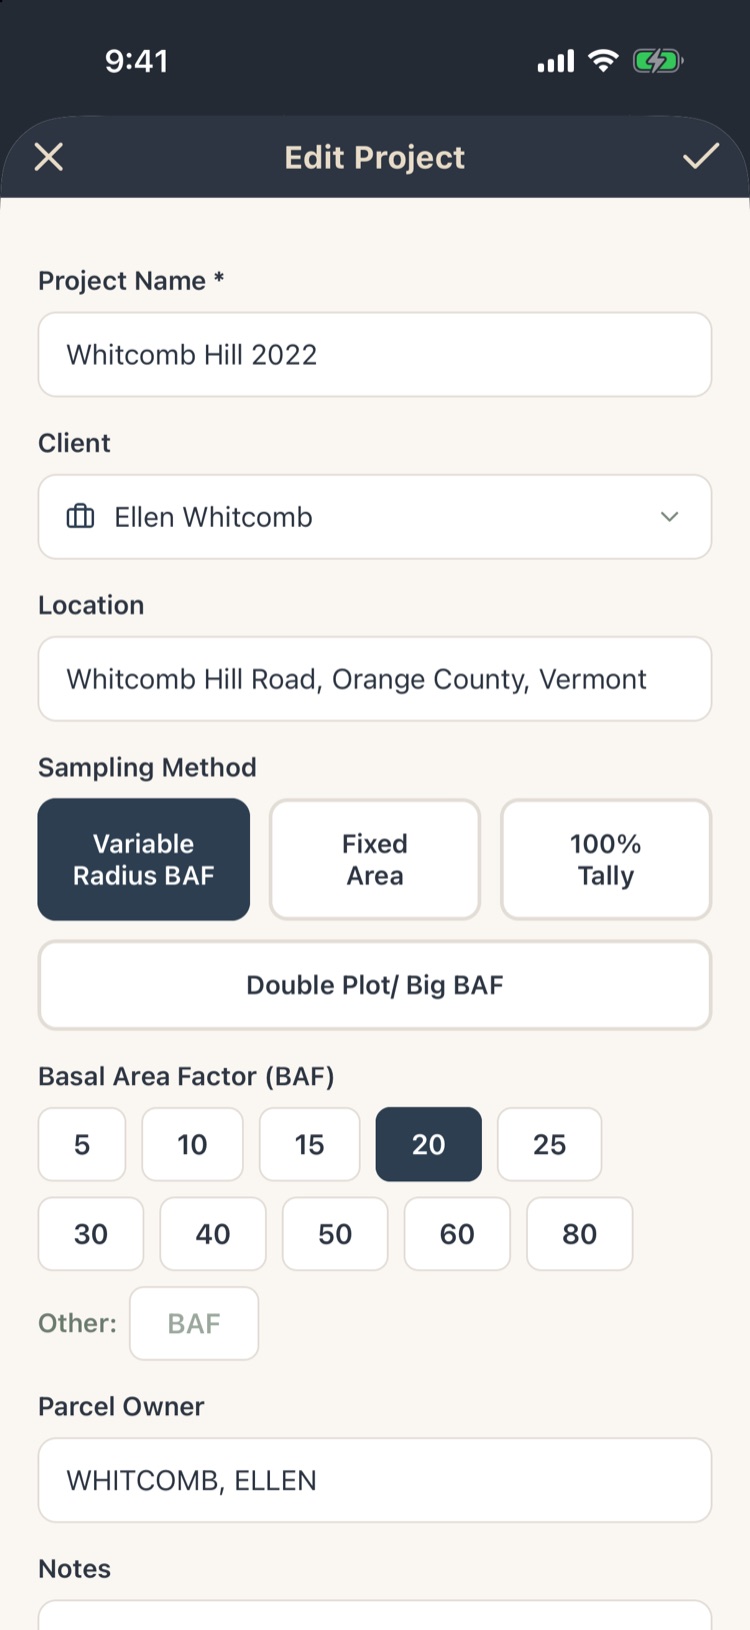
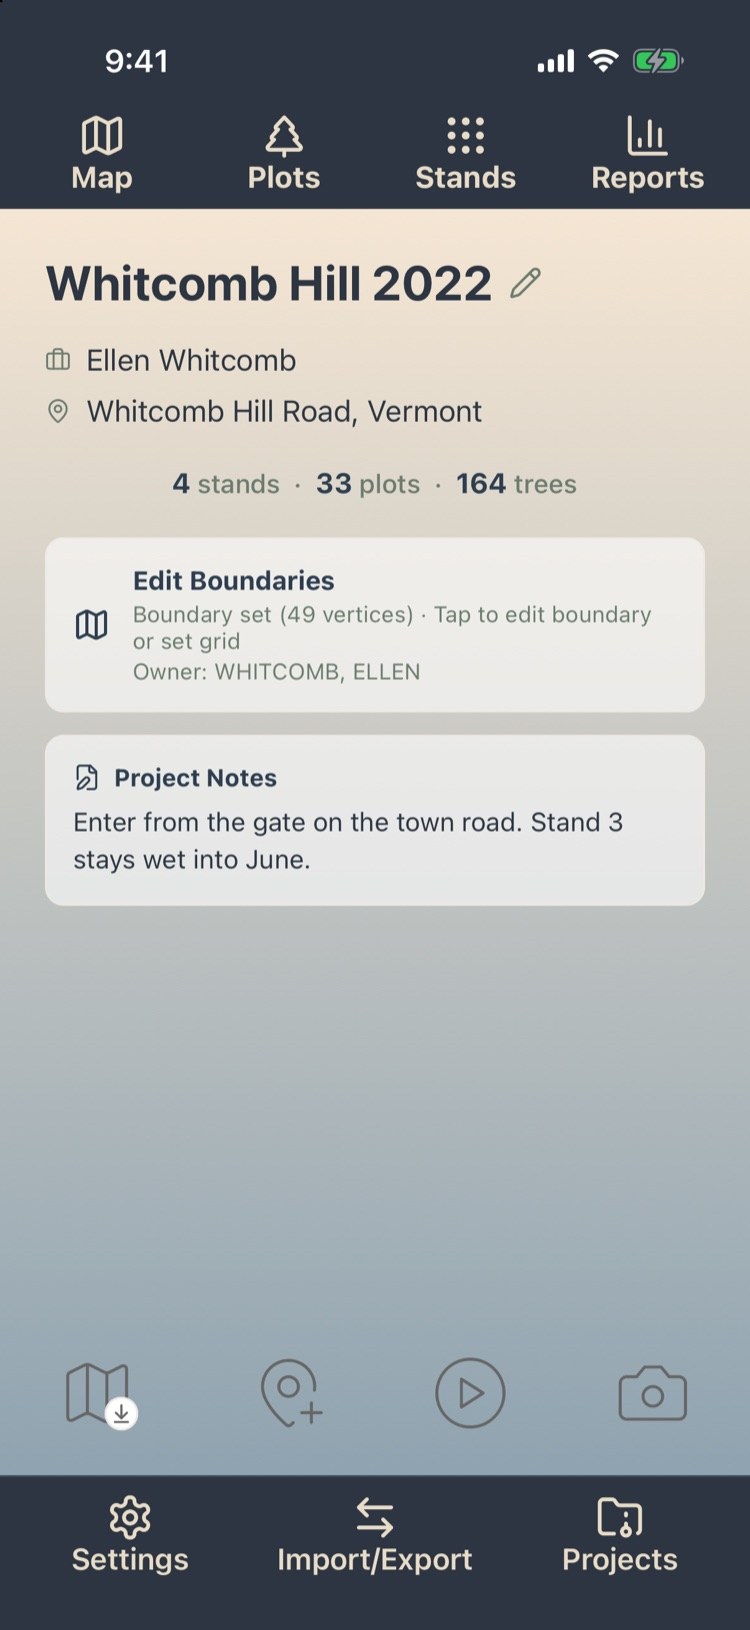
On Project Home, tap the project name (or the client or location under it) to open Edit Project.
- Project Name. Required, and different from your other projects.
- Client. The landowner or client the work is for (optional; section 2.2).
- Location. A road, town or tract description. It shows on the Projects screen and on reports.
- Sampling Method and its settings: the BAF, plot size or double-sampling setup (Chapter 1, section 1.7).
- Parcel Owner. The owner of record. When you pick a tax parcel on the parcel map, this fills in for you.
- Notes. The same notes as the Project Notes card.
Tap the check mark at the top right to save, or the × to leave without saving.
If a project was shared with you, its name, client and location are locked. Only the owner can change them.
2.2Clients and landowners
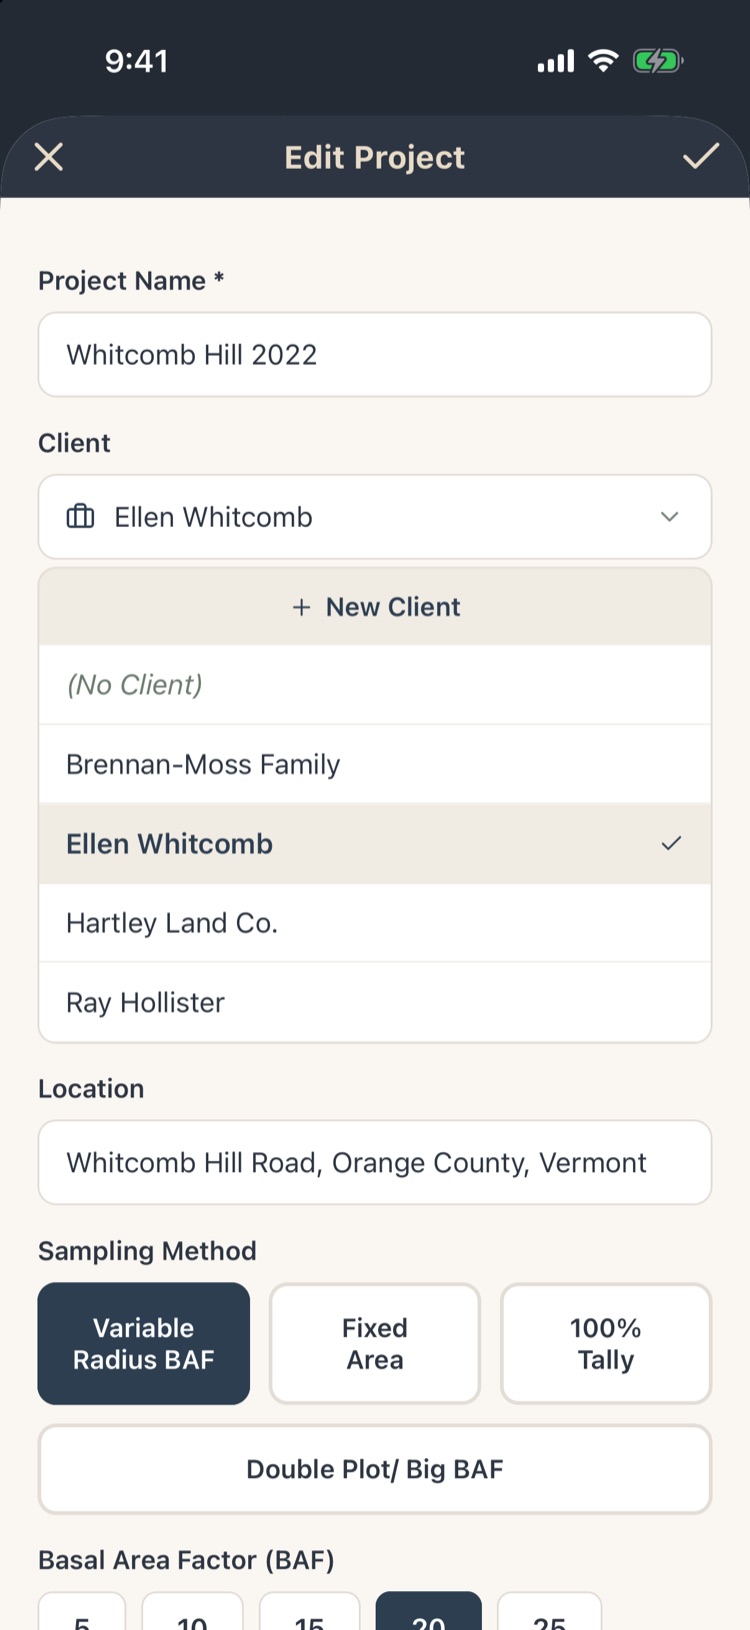
Clients keep your projects organized by whom the work is for. Each project has one client, or none.
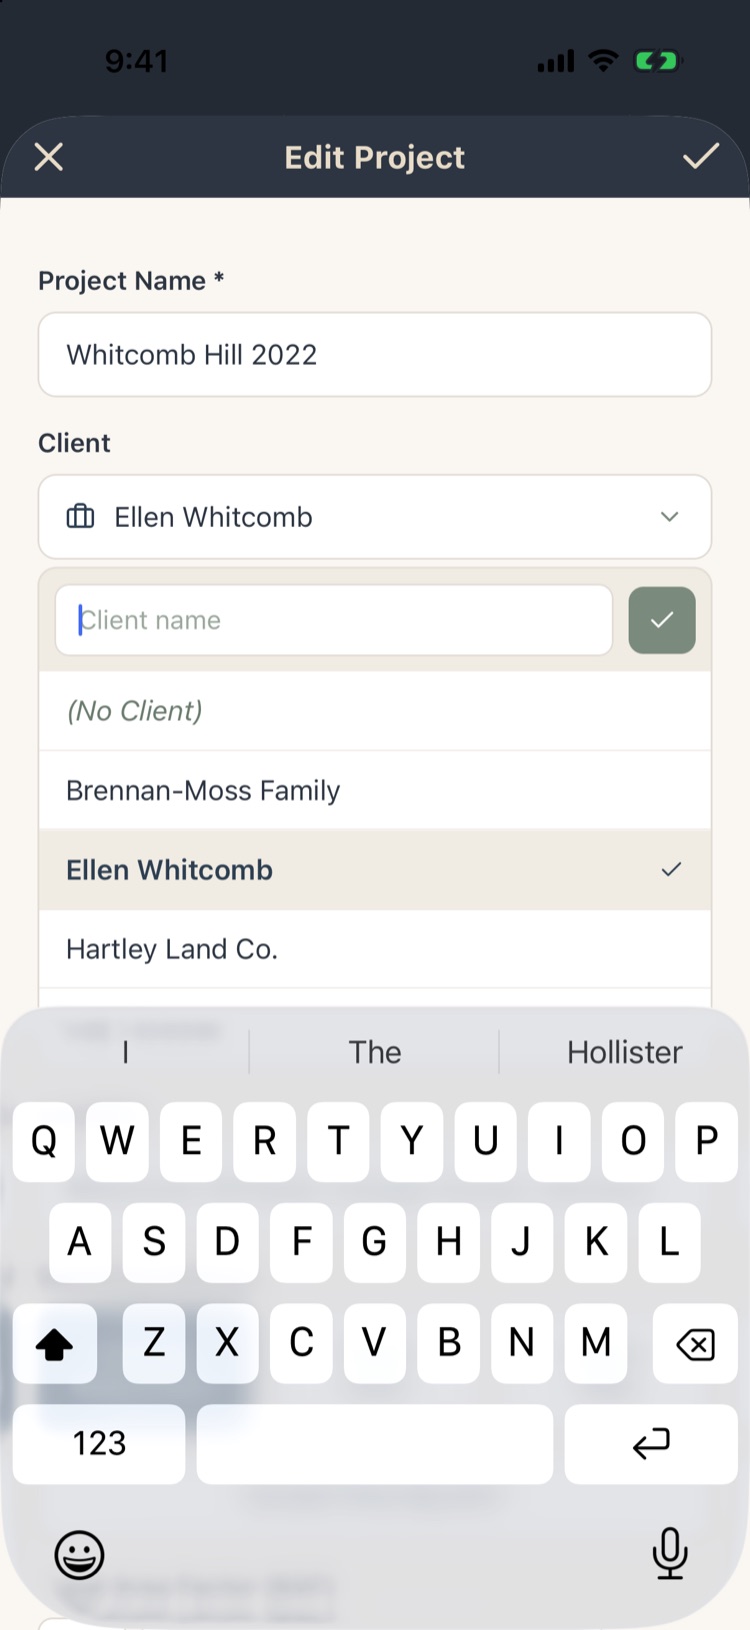
- Tap the Client box in New Project or Edit Project to pick from your clients.
- Tap + New Client, type the name, and tap the check mark to add one on the spot.
- Choose (No Client) to leave the project unassigned.
On the Projects screen, By Client groups your projects under each client. The Office pages offer more client tools, such as contact details and a project history for each client.
2.3Project notes
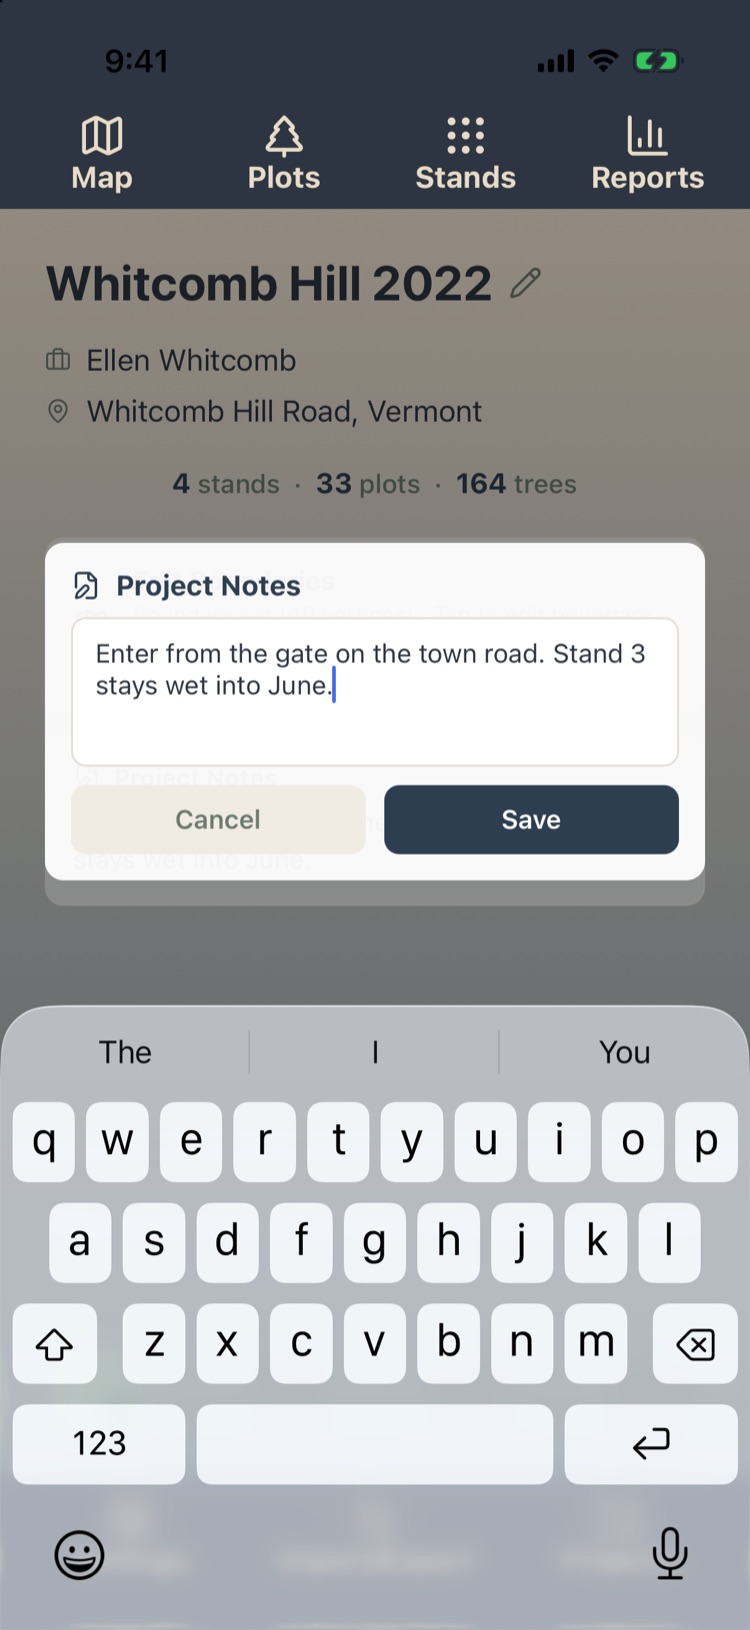
Project notes hold anything the whole crew should know: access, gates, hazards and landowner requests.
- On Project Home, tap the Project Notes card.
- Type your notes and tap Save.
Notes sync with the project, so everyone working on it sees them. Each plot also has its own notes (Chapter 6).
2.4Working copies
A working copy is a complete, independent duplicate of a project: every stand, plot, tree and setting. Use one to try a different volume rule, product setup or stand layout without touching the original.
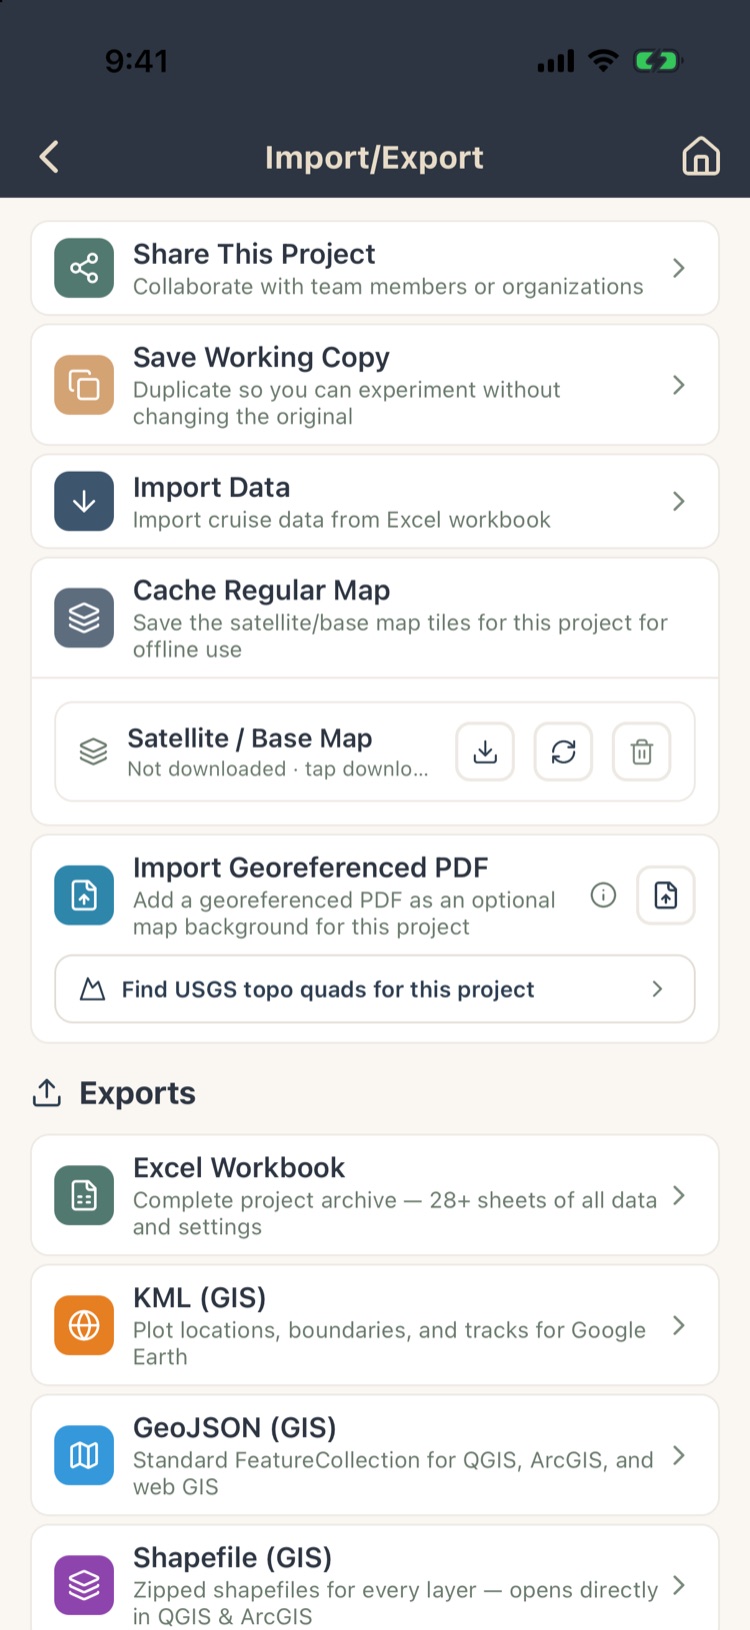
- Open the project and tap Import/Export on the bottom bar.
- Tap Save Working Copy.
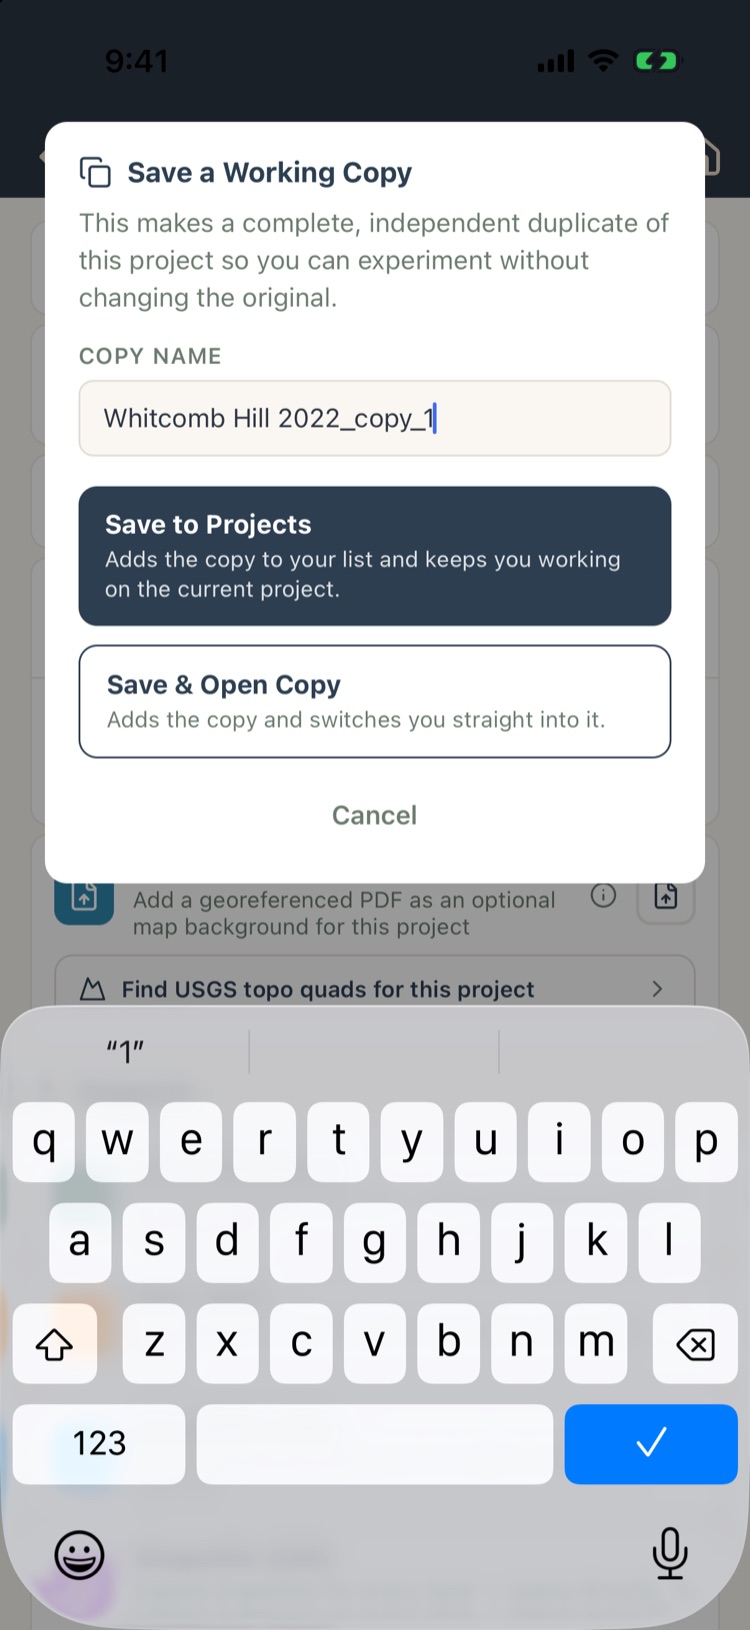
- Keep the suggested name (the original’s name with _copy_1) or type your own.
- Tap Save to Projects to add the copy and stay where you are, or Save & Open Copy to switch to it.
You can also tap ⋮ beside a project on the Projects screen and choose Duplicate. Either way, you own the copy. Only your own projects can be copied; a project shared with you can’t be.
2.5Archiving and restoring
Archive a project when the work is done. It leaves your Projects list and frees the storage its downloaded maps were using, but stays safe in the cloud.
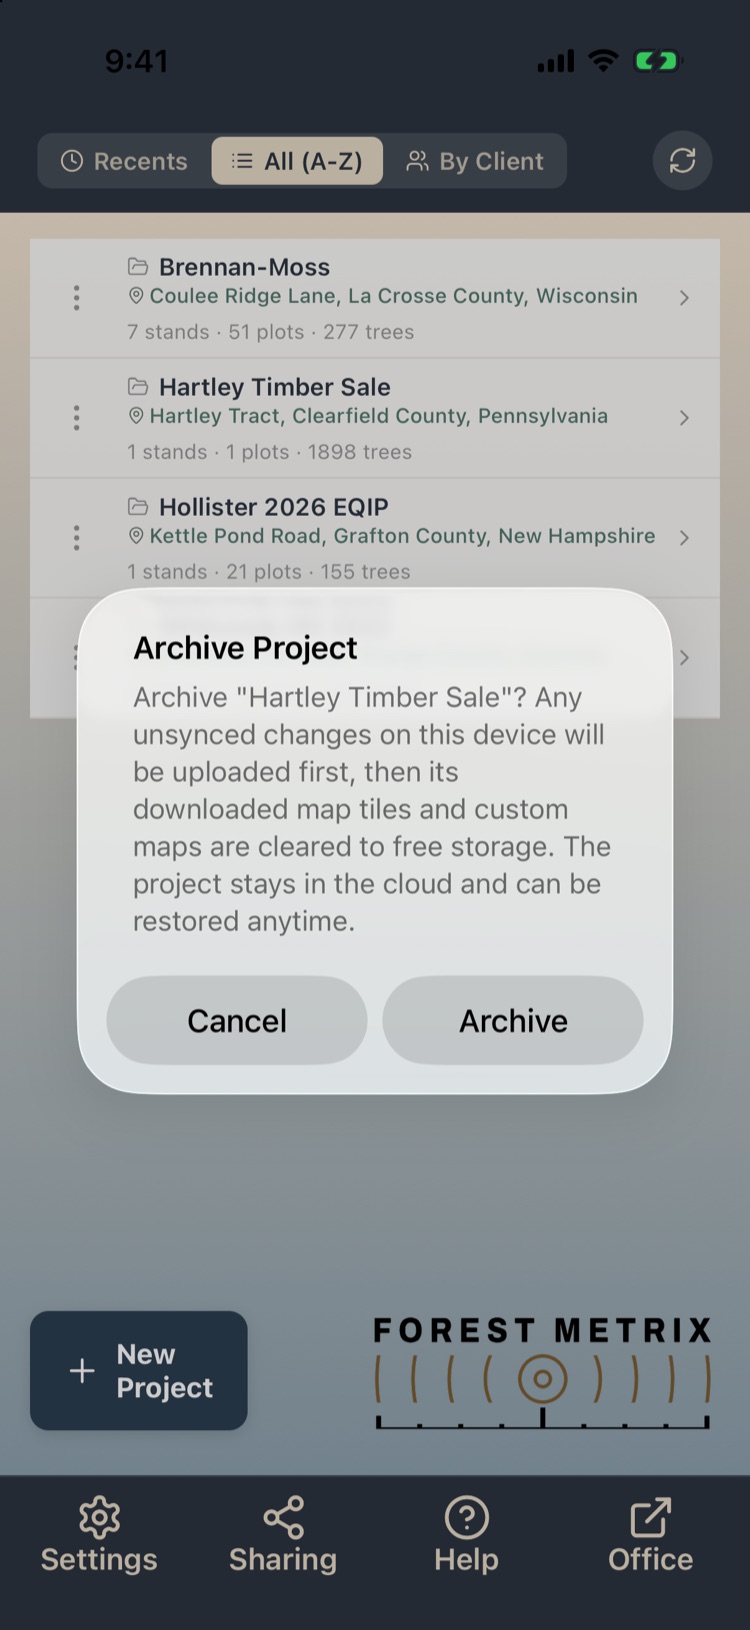
- On the Projects screen, tap ⋮ beside the project (or press and hold the row) and choose Archive.
- Confirm with Archive. Any changes not yet uploaded go up first.
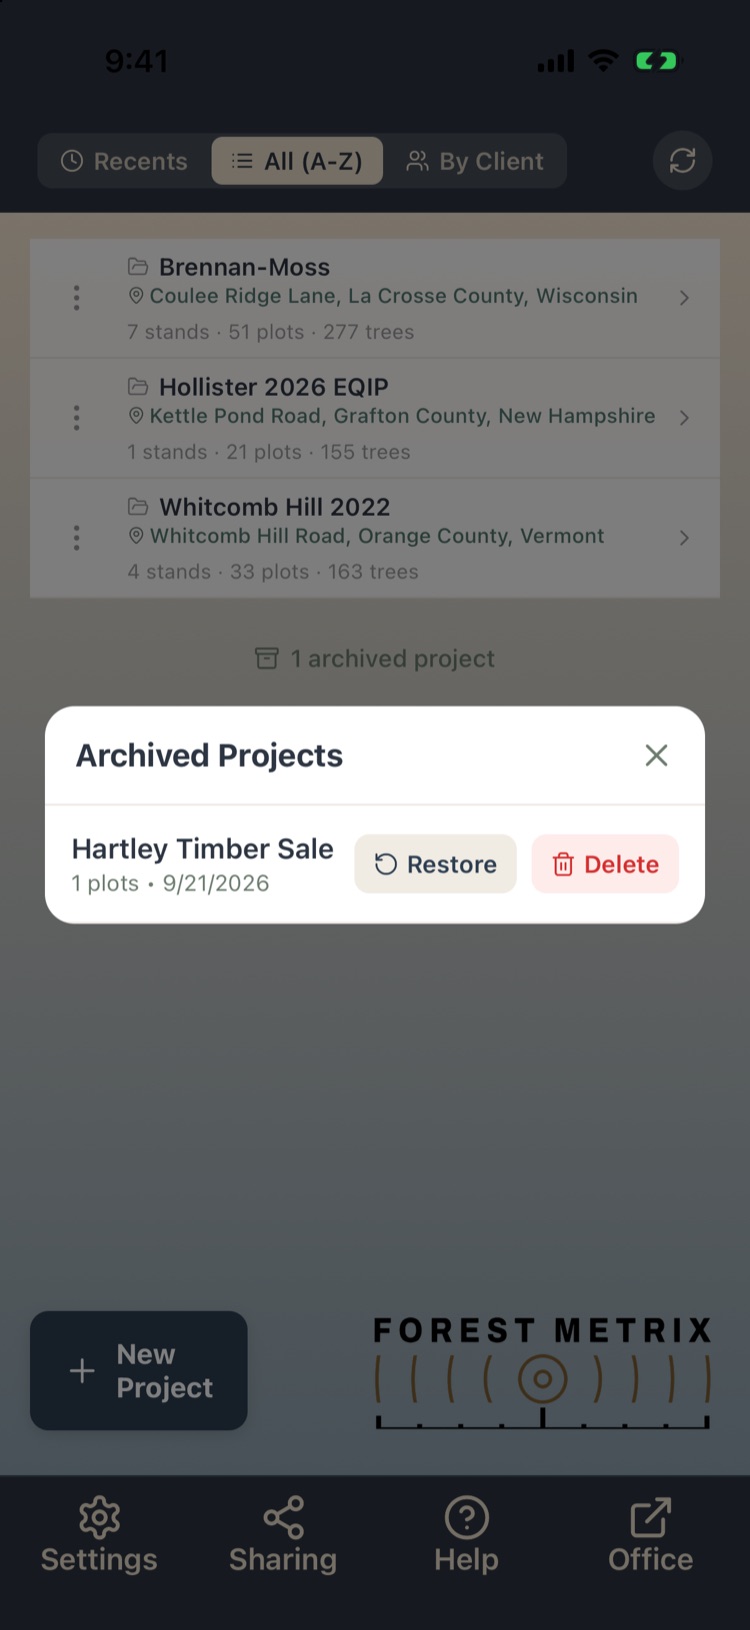
To bring a project back, tap N archived projects at the bottom of the list, then Restore.
If someone adds data to a project that was archived from the Office pages, the project comes back out of the archive on its own, so fieldwork is never hidden.
2.6Deleting a project
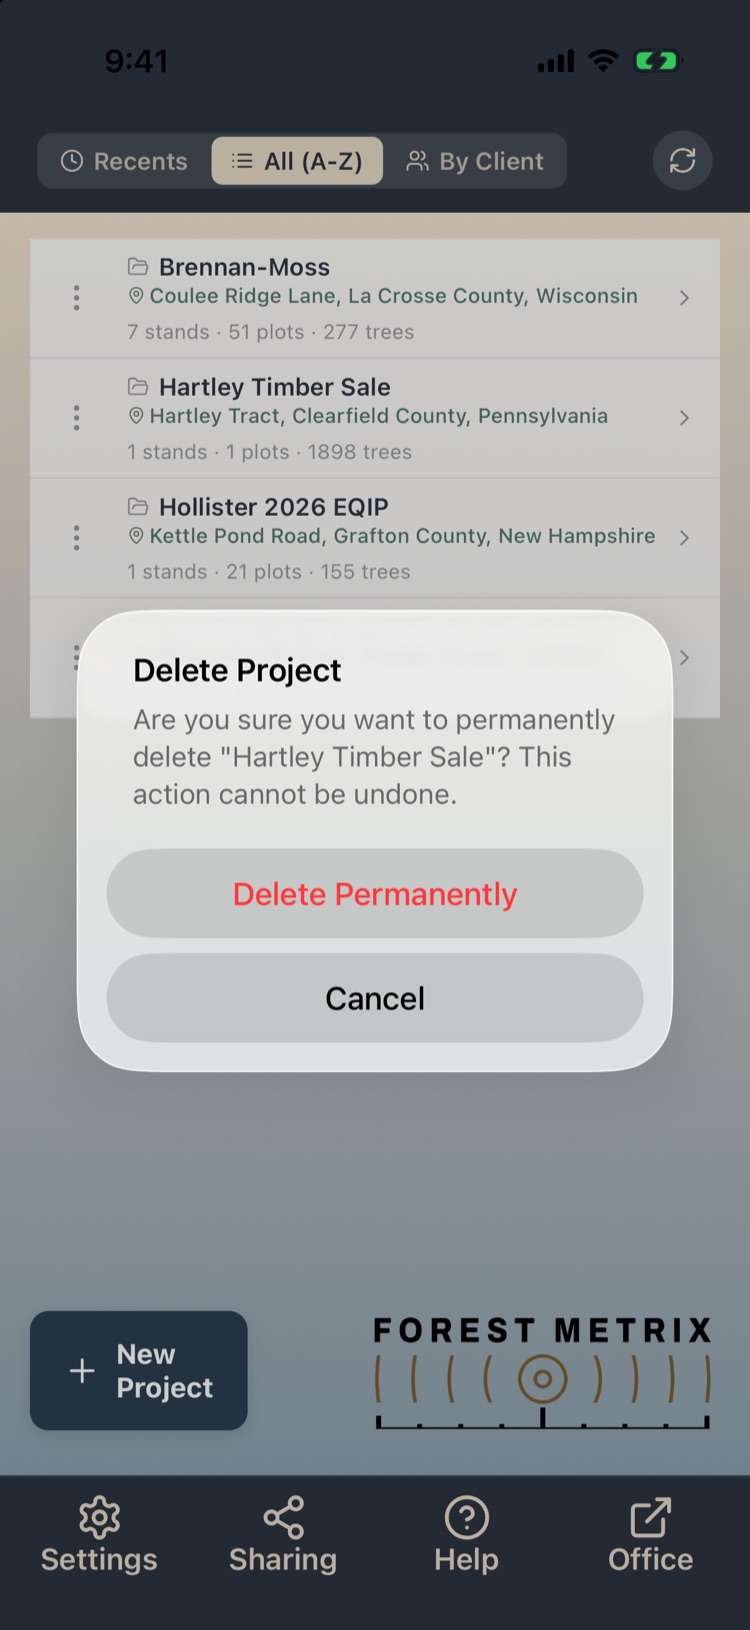
Deleting removes a project and all of its data for good, on every device and in the cloud. It cannot be undone.
- On the Projects screen, tap ⋮ beside the project and choose Delete Permanently.
- Read the confirmation and tap Delete Permanently again.
If there is any chance you will need the data again, archive the project instead, or export an Excel workbook first (Chapter 9).
For a project someone shared with you, the menu offers Remove Shared Project instead. It removes your access and leaves the owner’s project untouched.
2.7Project photos Pro
Project photos belong to the whole project rather than one plot: the landing, a road, a property corner, a view across a stand. (Photos taken at a plot are covered in Chapter 6.)
- On Project Home, tap the camera button.
- Tap Add Photo to take one with the field camera, or Library to pick one you already took.
- Add an optional caption. Turn on Stamp location on photo to print the coordinates, altitude, compass bearing, grade and time in a small box in the corner of the photo. The app remembers this choice.
- Tap Save Photo.
Tap a photo to see it full size or delete it. Photos upload on their own when you have a connection and then appear on your other devices.
Photo size, saving a copy to your phone’s photo library, and Wi-Fi-only uploads are set under Settings › Photos (Chapter 11).
2.8Sync status
Project Home shows how the project stands with the cloud in a strip above the bottom bar:
| You see | What it means | What to do |
|---|---|---|
| Synced · 3:56 PM | Everything on this device is in the cloud, as of that time. | Nothing. |
| Syncing… | An upload or download is under way. | Nothing. You can keep working. |
| Sync pending | Changes are waiting to upload, usually because there is no signal. | Keep working. They go up when you are back in coverage. Tap the strip to see why, or to try again now. |
| Newer data is arriving | Someone changed this project on another device. | Tap Get it now to load it straight away. |
| Access Revoked | The owner stopped sharing this project with you. | The project is now read-only on your device. |
Chapter 12 explains how sync works in detail, including what happens when two people edit the same plot.