Templates
A template is your standard setup (sampling method, species, products, prices, tally method and the data you collect), saved once and used to start every new project. This chapter covers managing your templates and the settings they hold.
10.1Templates and project settings
Every project carries its own copy of the settings. When you create a project, the settings are copied from a template, or from another project (Chapter 1, section 1.7). After that, the project and the template are independent:
- Changing a project’s settings (Settings on Project Home) affects only that project.
- Changing a template affects new projects made from it. Existing projects are never changed.
The Setup Wizard builds your first template when you first sign in (Chapter 1, section 1.5). Make more for different kinds of work: a timber sale template, a management-plan template with regeneration and snags, a 100% tally template.
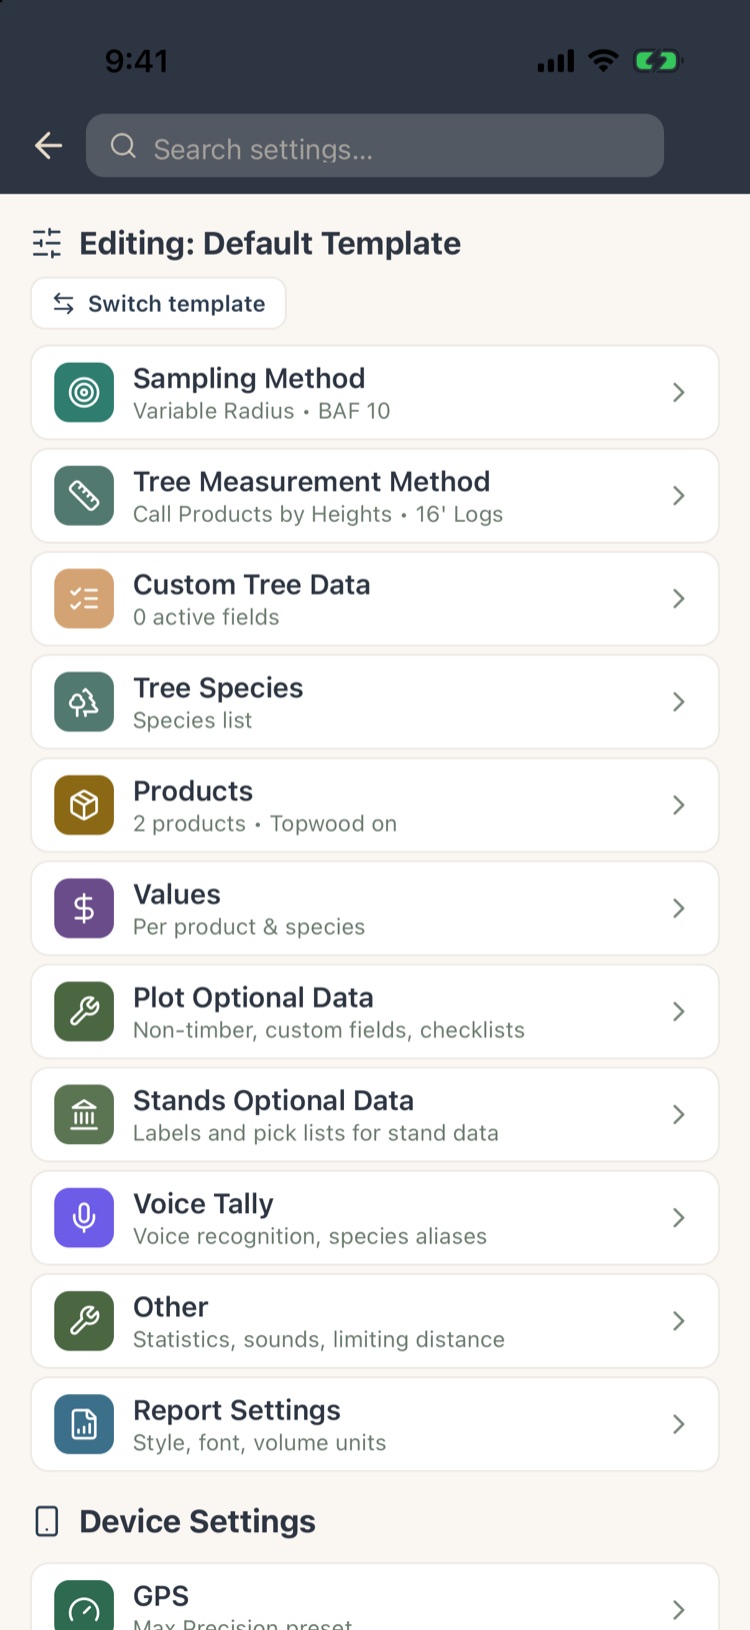
Settings opened from Project Home edit that project; the heading names it. Settings opened from the Projects screen (no project open) lead to Template Settings, and the heading reads Editing: Default Template.
10.2Managing templates
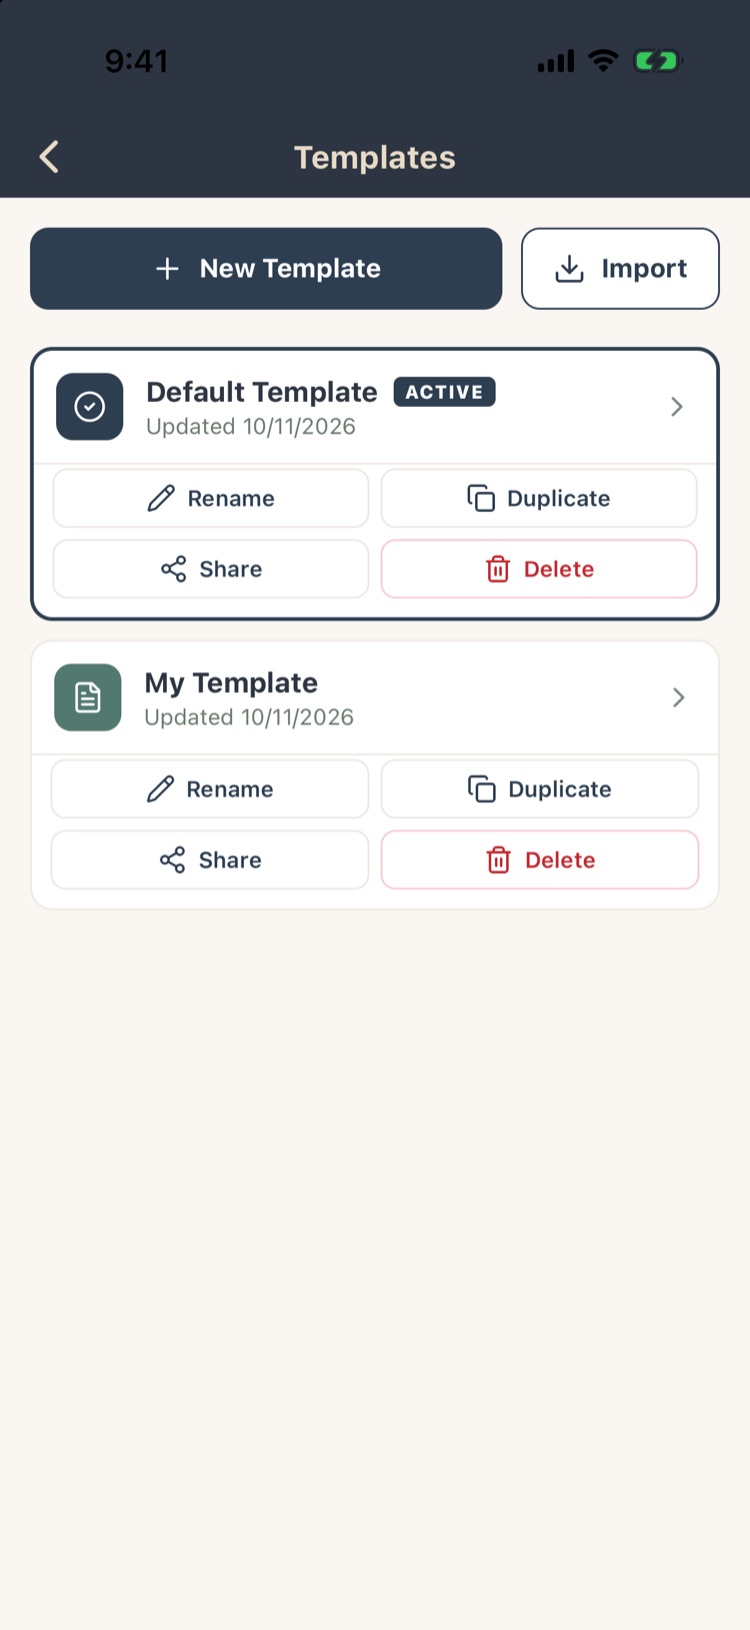
On the Projects screen, tap Settings › Template Settings. The Templates screen lists your templates; the active one (used for new projects unless you choose otherwise) is marked ACTIVE.
- Tap a template to make it active and edit its settings.
- Rename, Duplicate and Delete. Your last template can’t be deleted.
- Share (section 10.3).
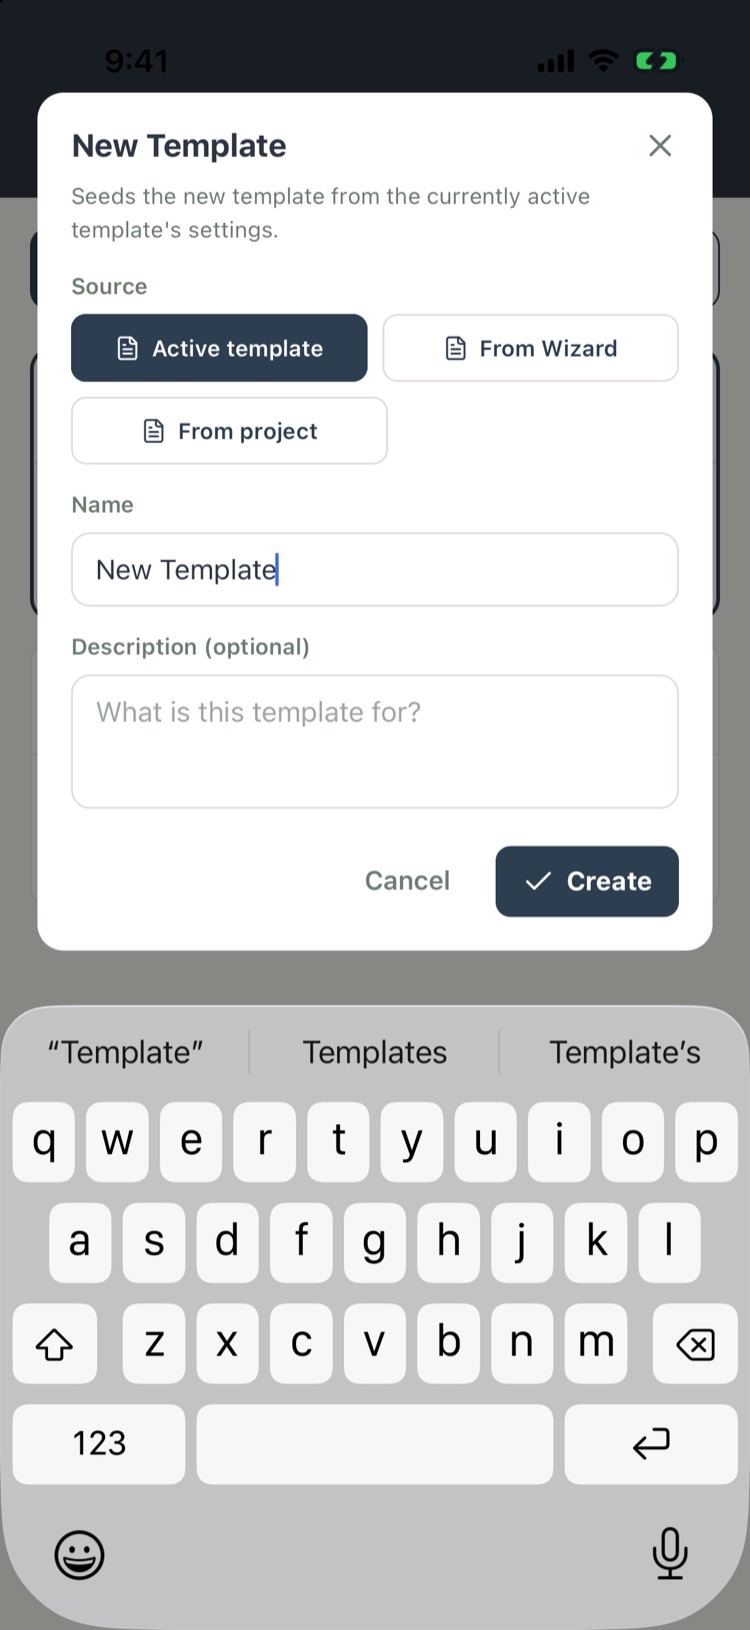
- + New Template: start from the active template, from the Setup Wizard, or from a project whose settings you like. Give it a name and, if you like, a description.
- Import: load a template file (.cruisetemplate.json) someone sent you.
Once you’ve chosen a template, the Settings list shows every setting it holds, including Sampling Method, which only templates have (section 10.4). Switch template at the top goes back to the list.
10.3Sharing a template
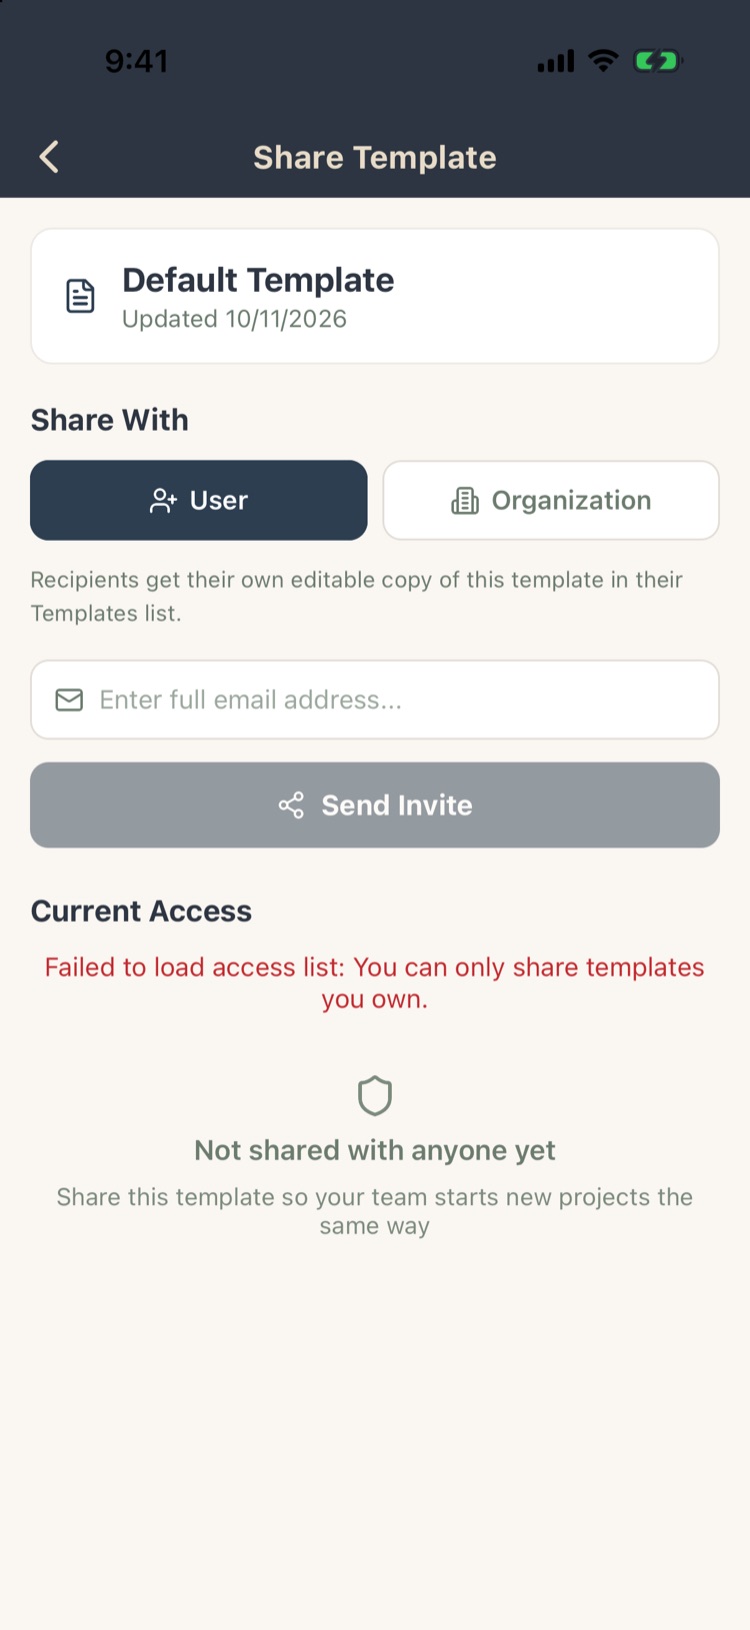
Tap Share on a template to give a colleague your setup.
- User: type their Forest Metrix sign-in email and tap Send Invite.
- Organization: share with everyone in one of your organizations (Chapter 12).
Recipients get their own editable copy in their Templates list, marked SHARED. It refreshes when you change yours, and they can remove it. Current Access lists who has it; Revoke takes it back.
10.4Sampling method
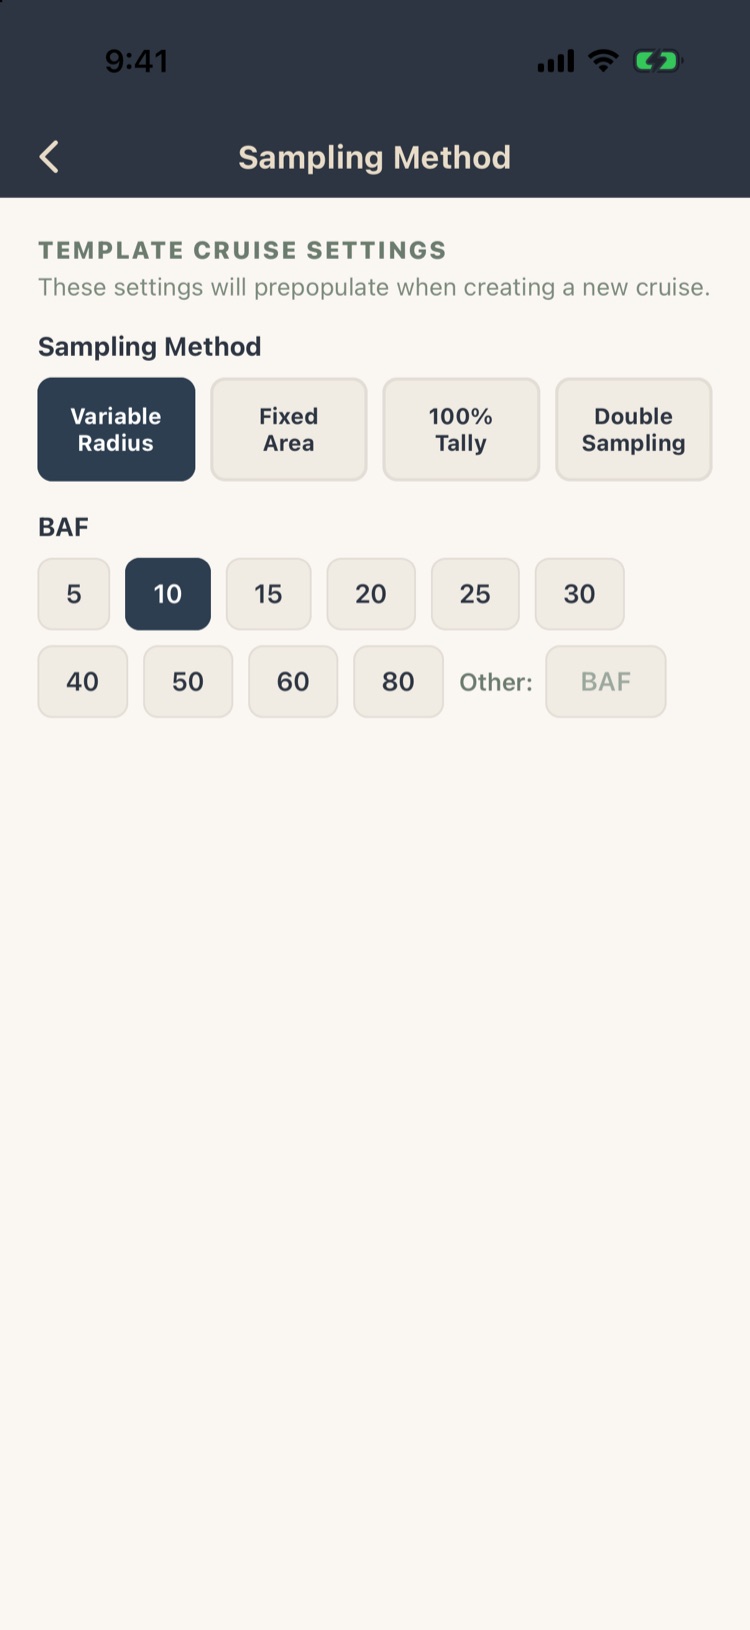
A template’s Sampling Method pre-fills New Project: Variable Radius with a BAF, Fixed Area with a plot size, 100% Tally, or Double Sampling with count and measure BAFs. You can still change it when creating the project.
For an existing project, change the method in Edit Project (Chapter 2), and for one stand in its Sampling Settings (Chapter 3).
10.5Tree species
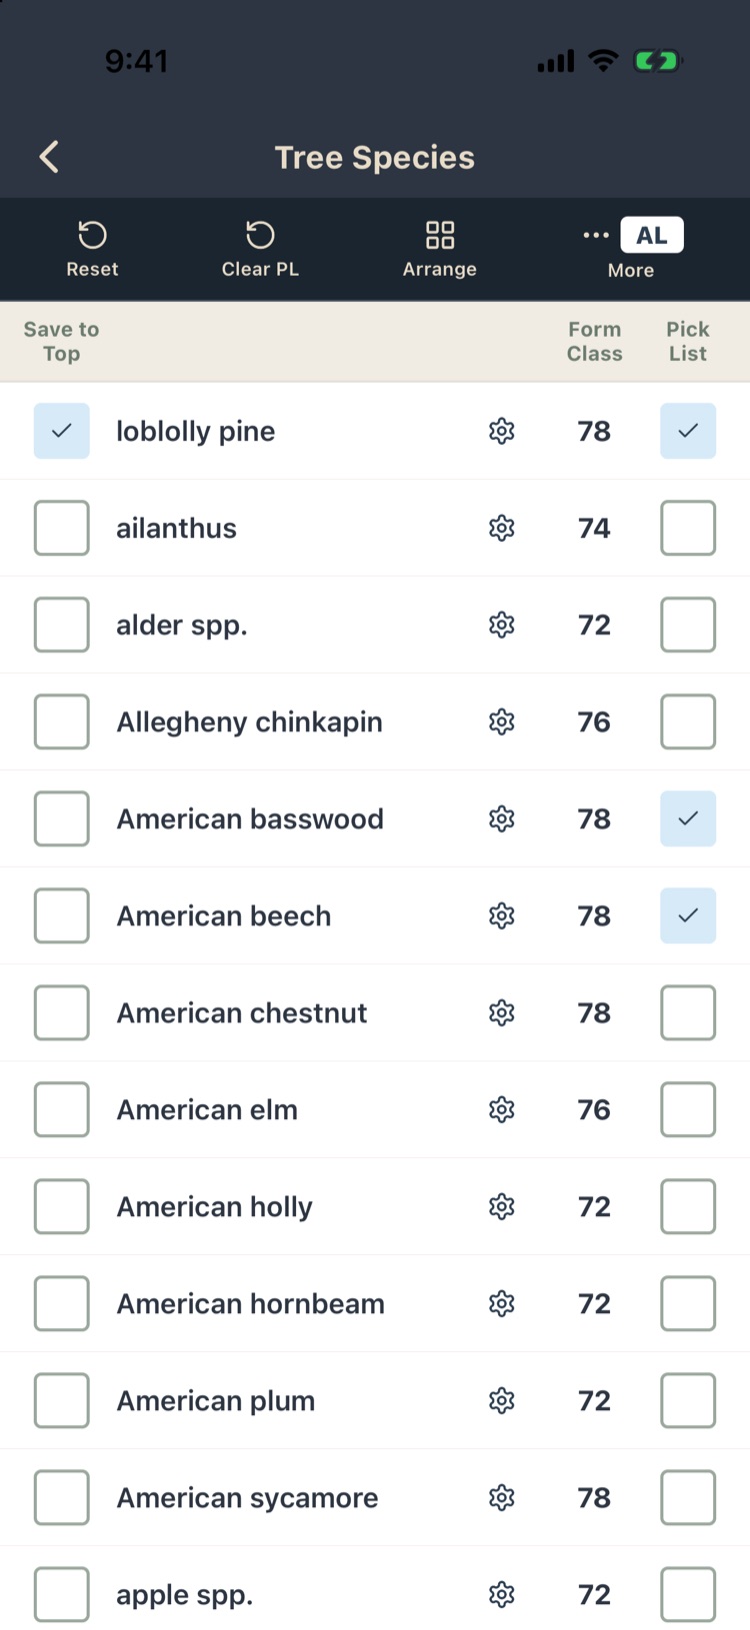
Settings › Tree Species holds the species database for your state (the state is shown at the top right; tap More › State to change it).
- Pick List: tick the species you tally. Only these appear on the tally screen. Keep it short.
- Save to Top: pin your most common species to the top of the pick list. Arrange sets their order: tap two species to swap them.
- Form Class: each species’ Girard form class, used by the volume equations. Tap the ⚙ to change it.
- Reset restores the state’s defaults; Clear PL empties the pick list.
- More also has FIA Species Import: from a location (or your GPS) and radius, load the most common species nearby into your pick list.
- Custom names: rename a species (hard maple for sugar maple, say). The name is used on every screen, report and export.
- Weight factors feed the tons volume rules.
10.6Products, volume rules and taper
Settings › Products has three tabs.
Products
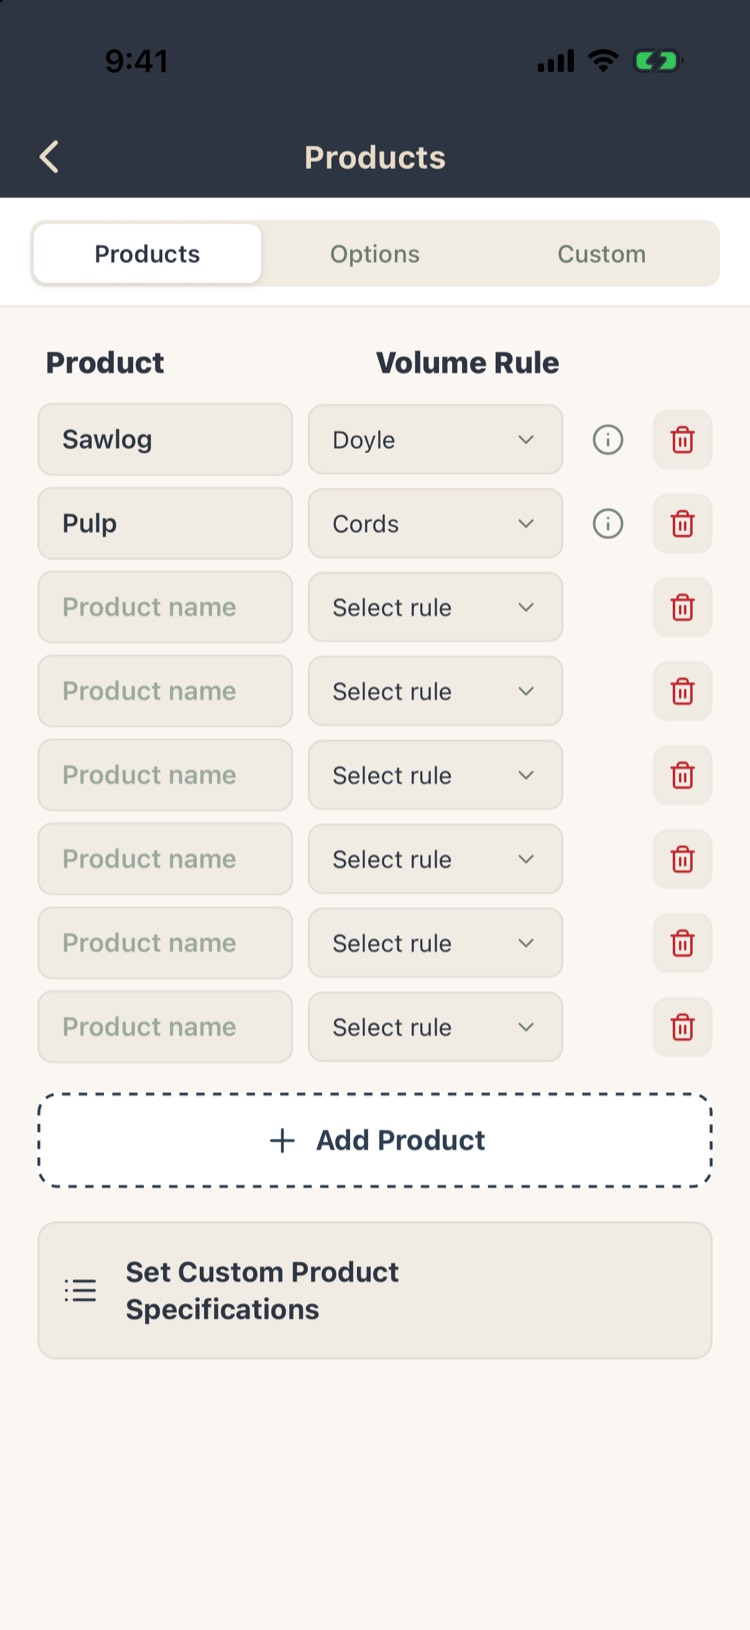
The products you tally (sawlog, pulp, veneer, cordwood and so on), each with its volume rule: Doyle, Scribner, Scribner Decimal C, International ¼", cubic feet, cords, or tons. Basic allows two products; Pro and Max up to 20. Tap + Add Product to add one. Renaming a product updates every tree, rule and price that uses it.
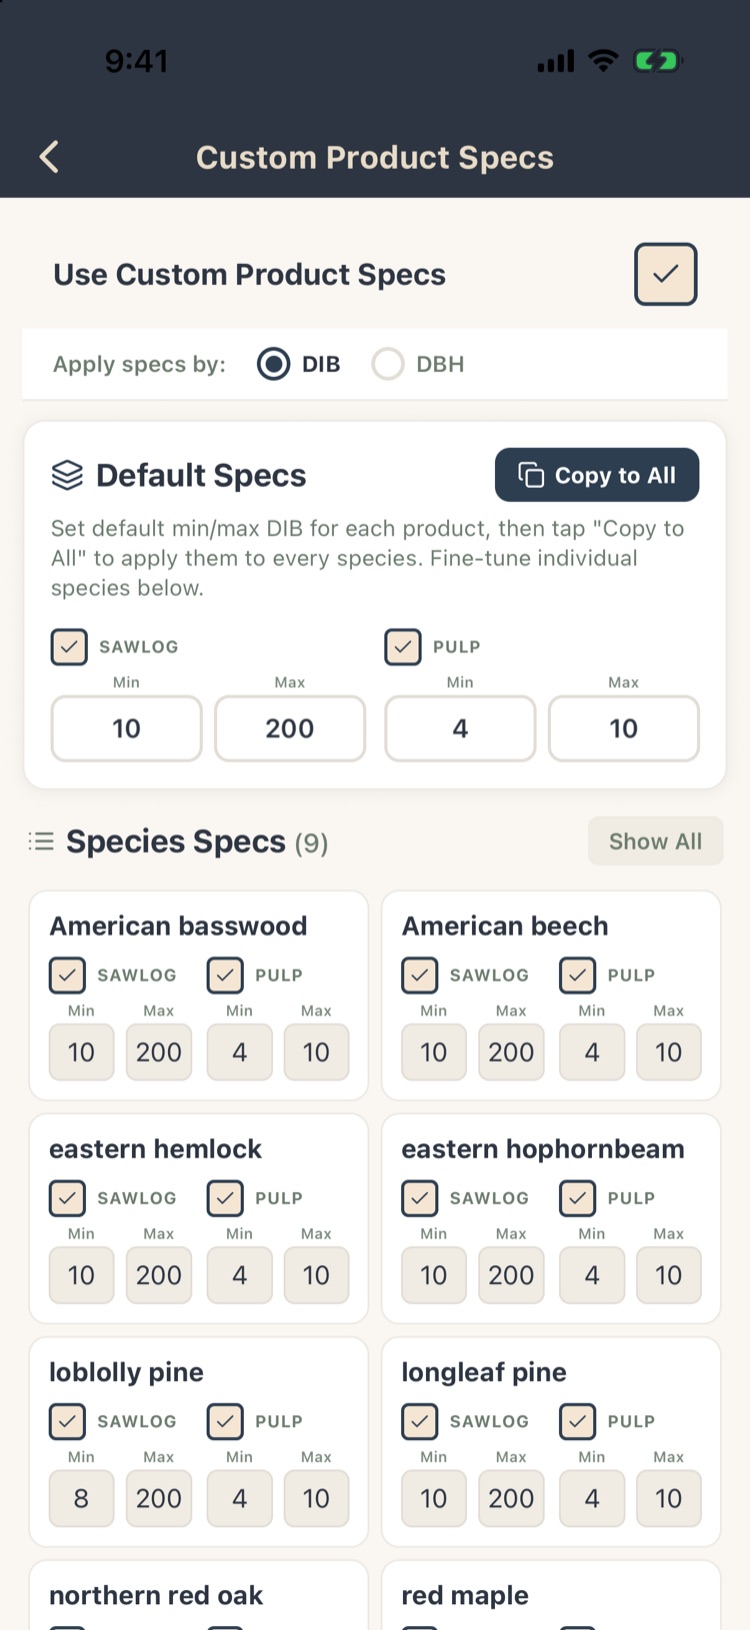
Set Custom Product Specifications sets the minimum and maximum diameter of each product for each species, inside bark (DIB) or as DBH. The tally screen then warns when a call doesn’t meet the spec.
Options
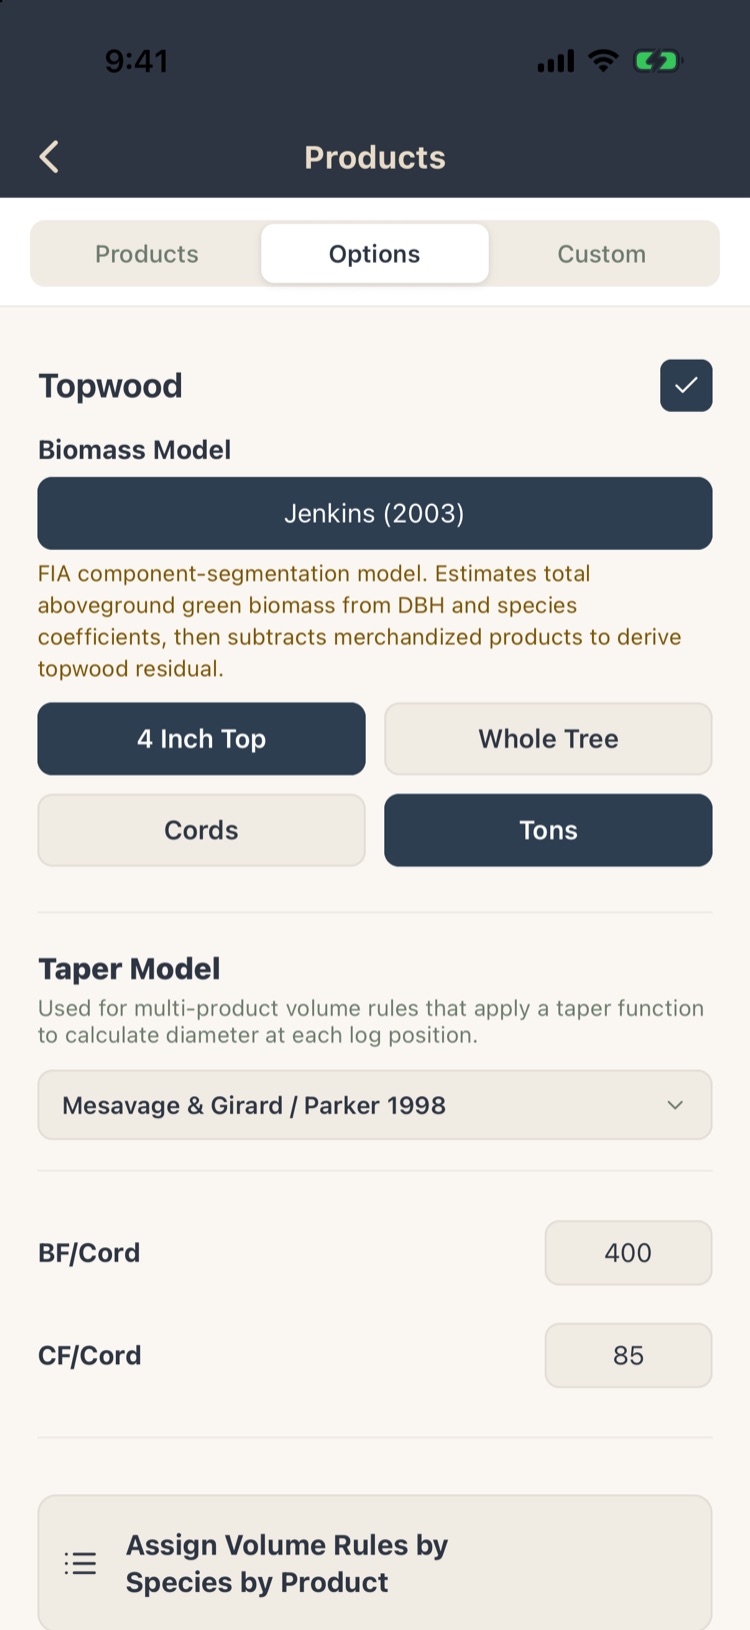
- Topwood: the wood above your products, from the Jenkins (2003) biomass model, to a 4" top or the whole tree, in cords or tons.
- Taper Model: Mesavage & Girard / Parker 1998 (the default), Clark & Souter, or Behre’s hyperbola. Clark & Souter and Behre need total heights.
- BF/Cord and CF/Cord conversion factors.
- Assign Volume Rules by Species by Product: a different rule for a species, for example Scribner for softwoods and International for hardwoods. The list shows the species on your pick list; Show all species adds the rest. Tap a rule to choose from the list, or Default to use the product’s own rule.
Custom Max
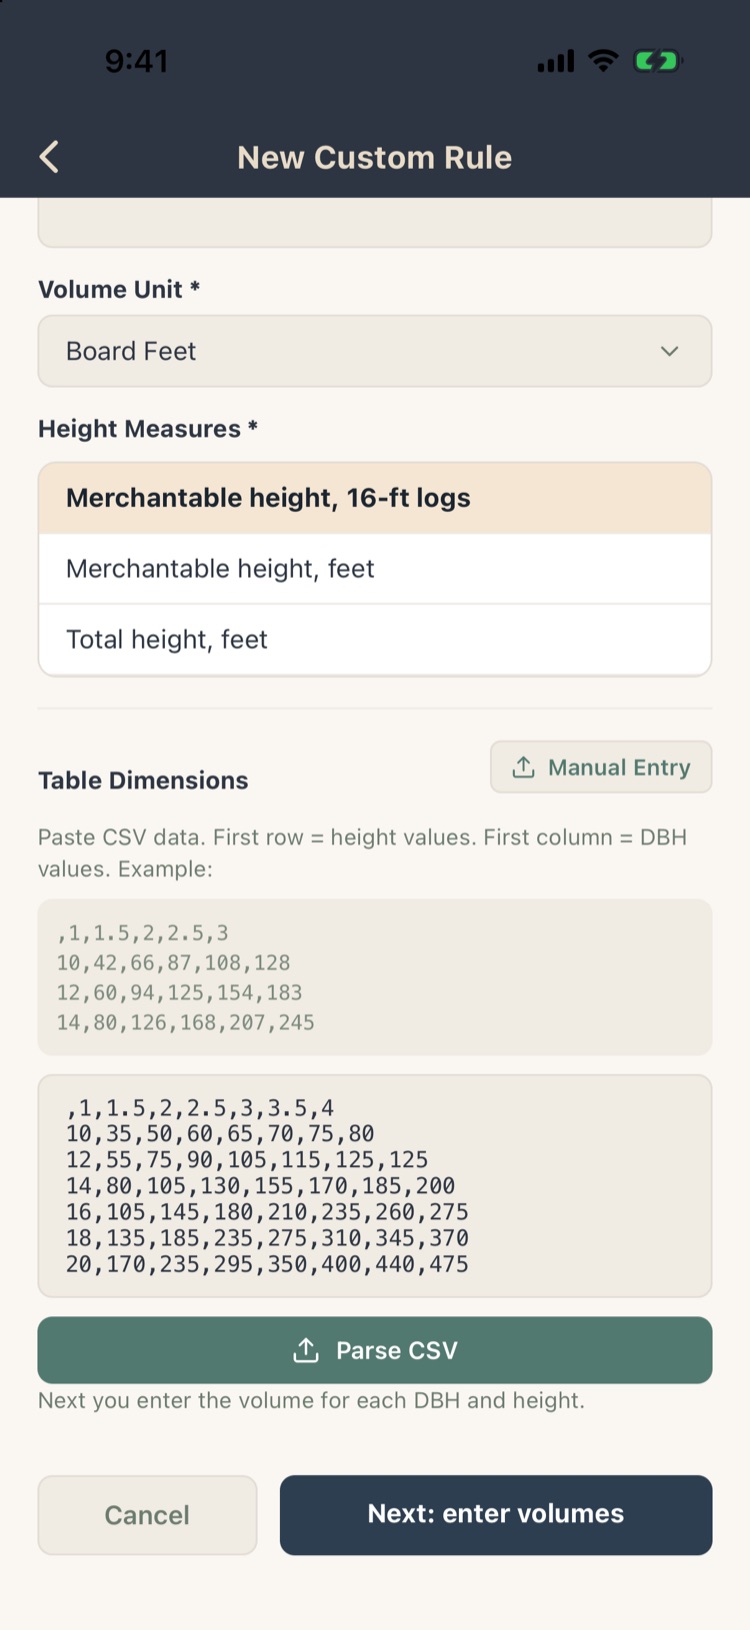
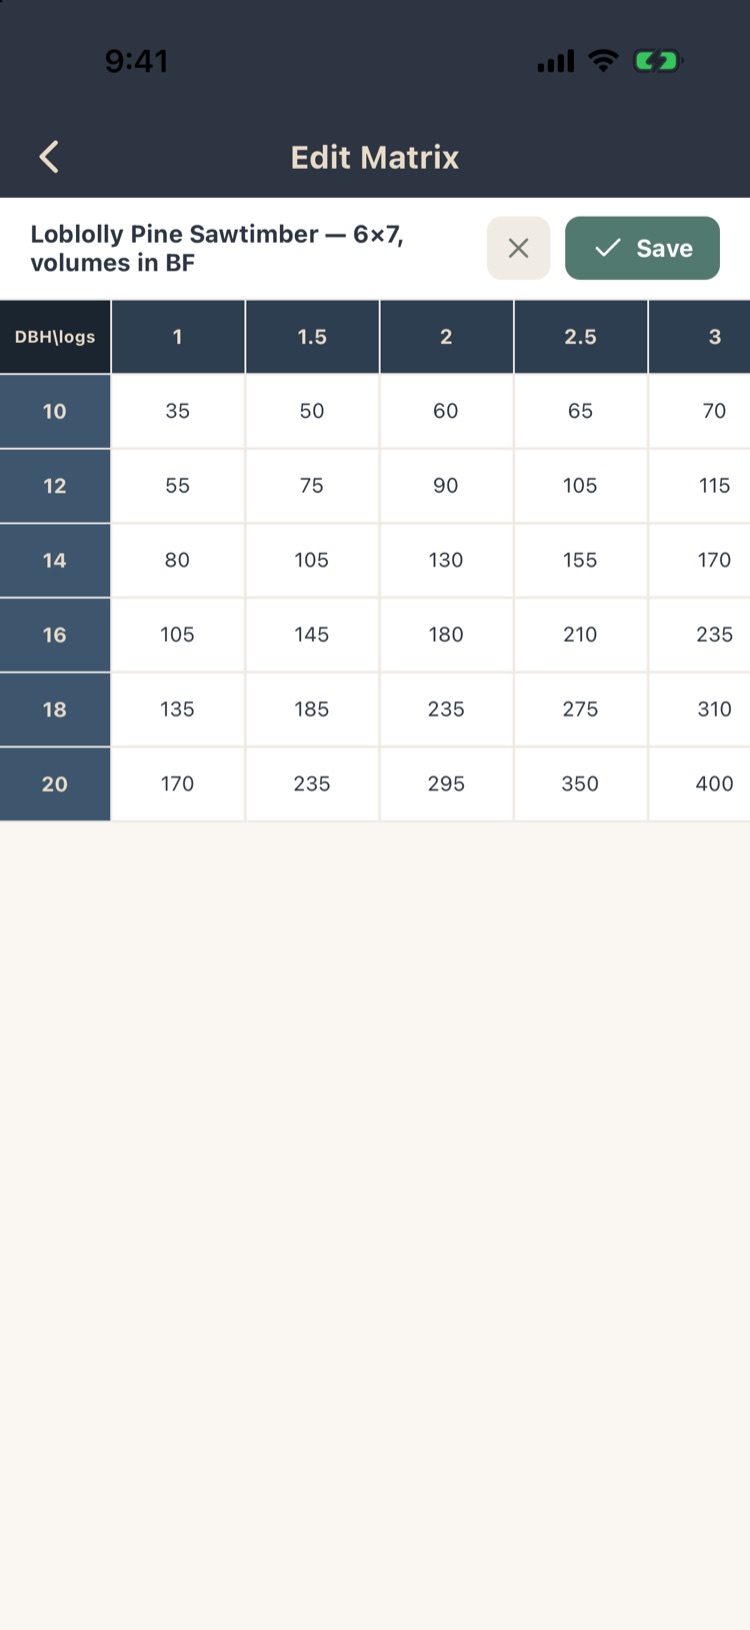
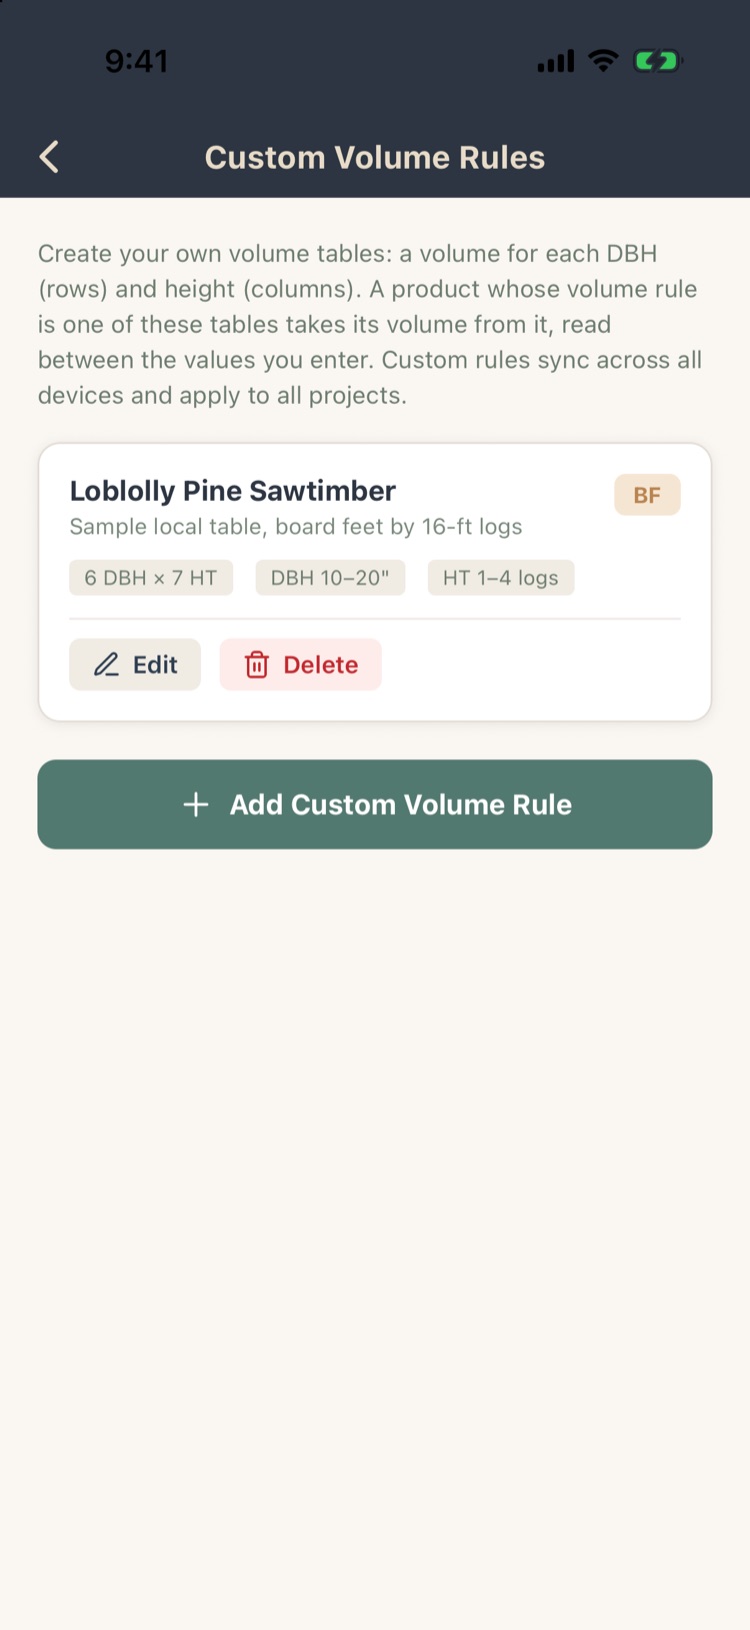
Add Custom Volume Rules: enter your own volume table (DBH by height, or pasted CSV) in board feet, cubic feet, cords, tons or your own unit. Each table chooses its height axis (16' logs, merchantable feet or total feet) and replaces that product’s volume. Trees outside the table use the nearest edge value and are flagged. Custom rules sync to all your devices.
10.7Stumpage values
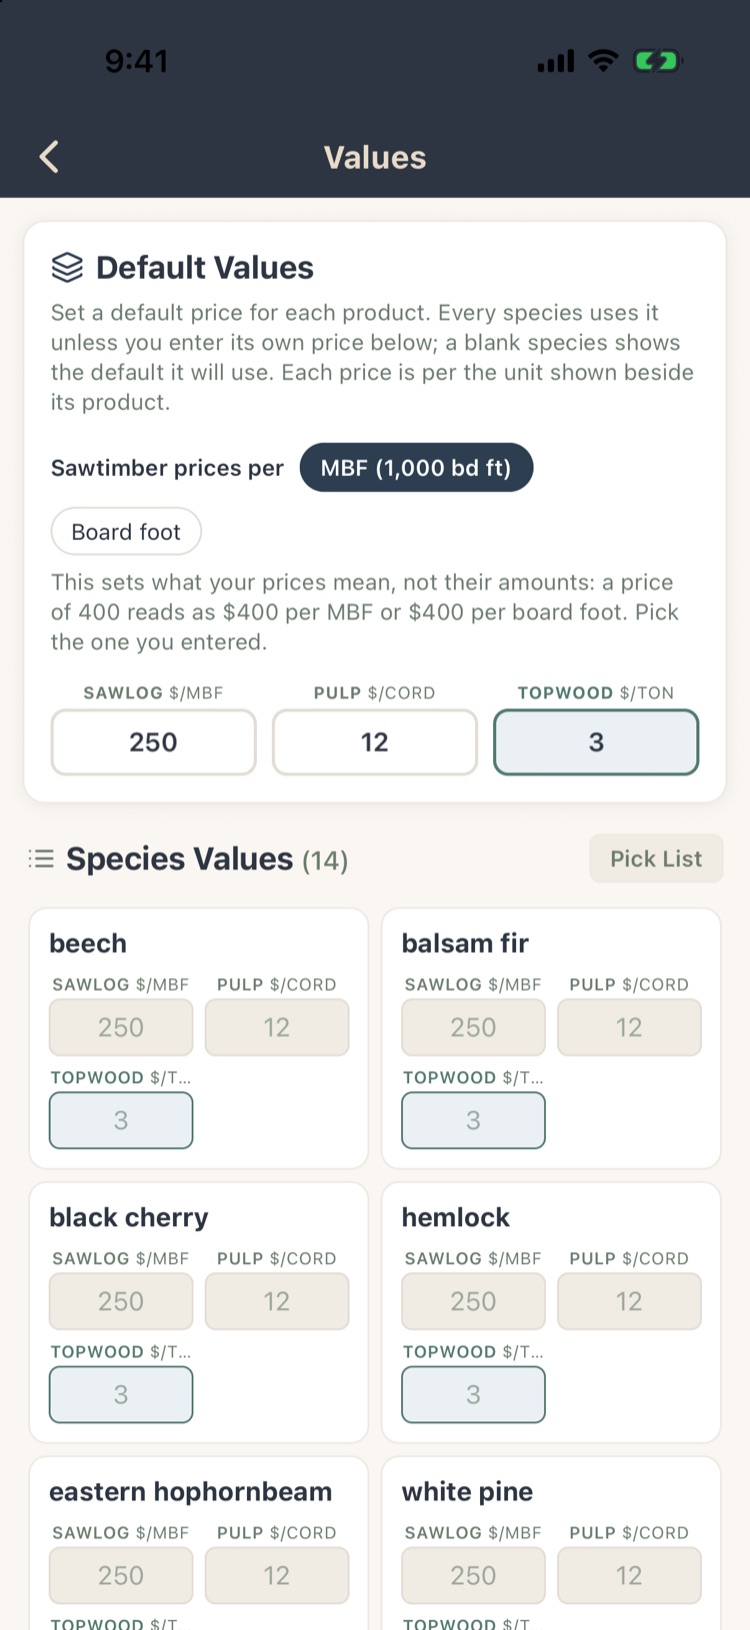
Settings › Values holds the prices the value reports use (Chapter 8, section 8.6).
- Default Values: one price per product: sawlog per MBF (or per board foot), pulp per cord, topwood per ton. Every species uses these unless you give it its own.
- Sawtimber prices per: MBF or Board foot. This only says what your numbers mean: 400 reads as $400 per MBF or $400 per board foot.
- Species Values: a price for a species and product. A blank box shows the default it will use.
Prices are per project; set your usual prices in your template. A list that’s all zeros counts as unpriced.
10.8Custom tree data Pro
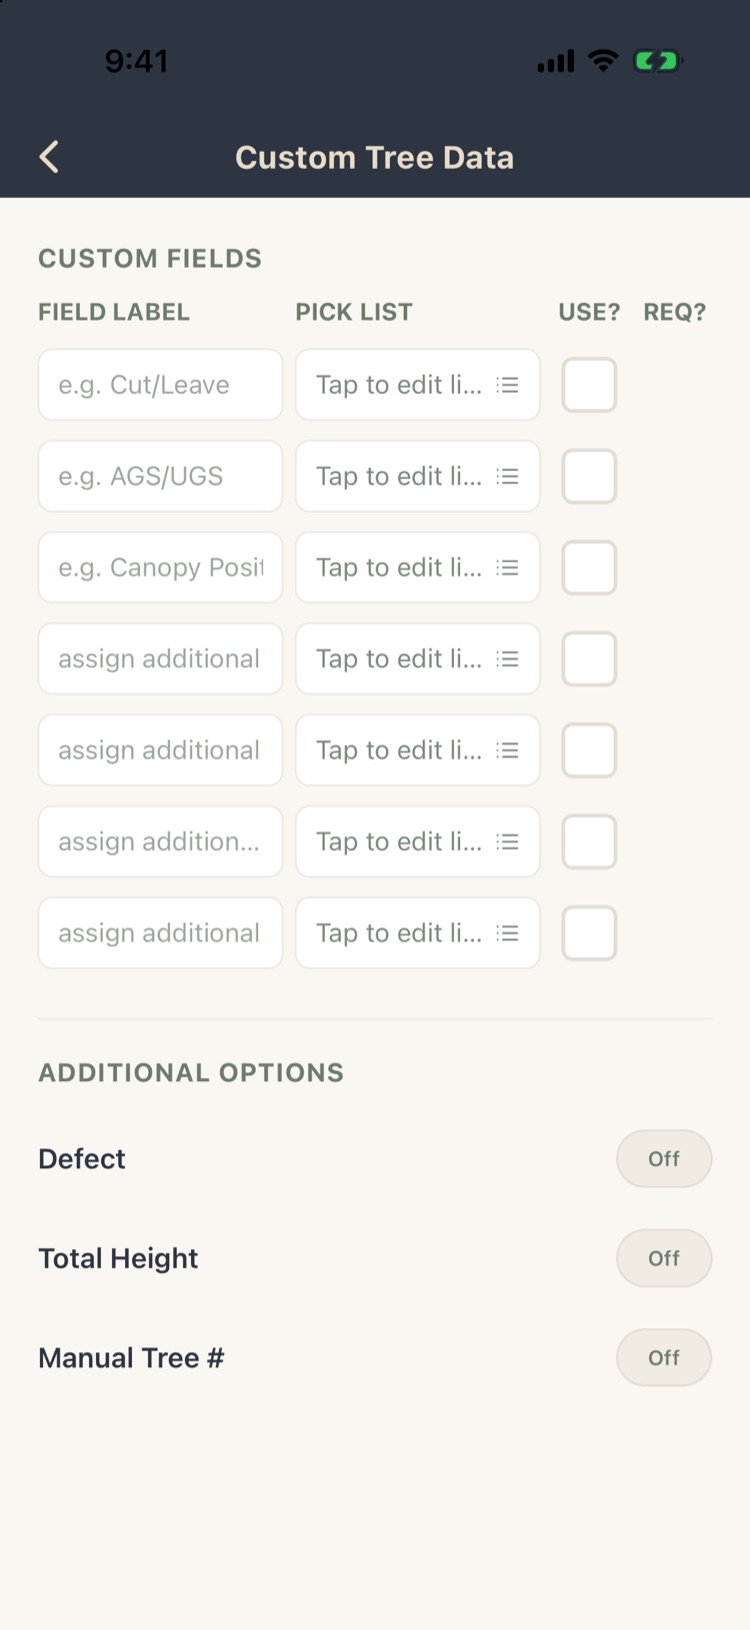
Settings › Custom Tree Data sets what you record on each tree beyond species, DBH and products (Chapter 5, section 5.6):
- Custom fields: up to seven. Type a label (Status, Crown Class, Damage), tap the pick list to give its answers (AGS, UGS, Cull), and tick Use. Tick Req to make it required. A field without a pick list takes typed text. Basic includes one field.
- Defect, Total Height and Manual Tree # switches. Total Height can be On (asked once per tree) or Required.
Fields appear on the tally screen in this order, in the reports, and as columns in exports.
10.9Stand fields Pro
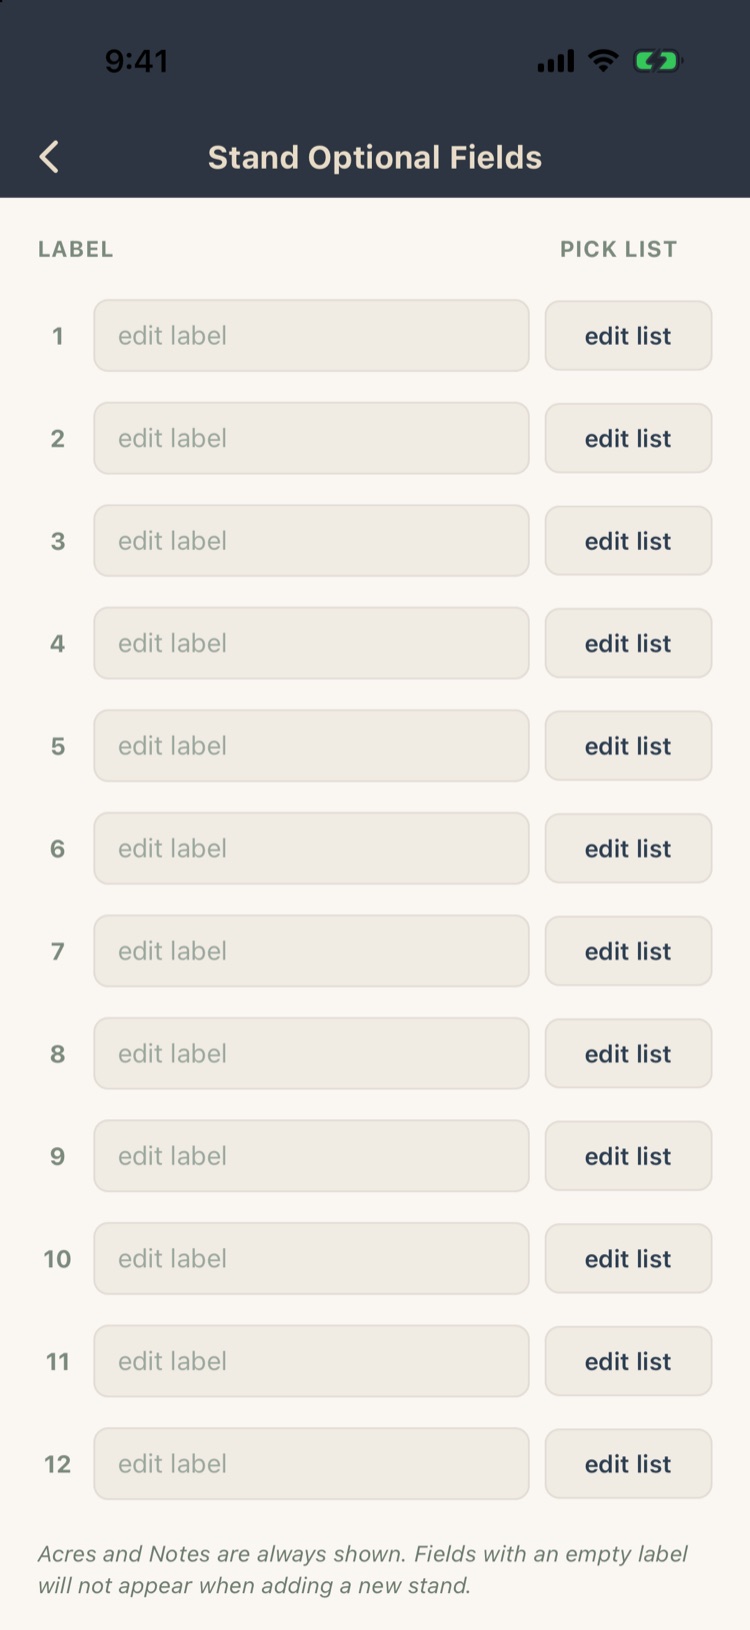
Settings › Stands Optional Data: up to 12 stand fields, such as forest type, size class, stocking, site class or management objective. Give each a label and, if you like, a pick list. They appear when you add or edit a stand (Chapter 3) and print on stand reports and plans. Acres and notes are always included; a field with no label doesn’t appear.
Plot-level data (regeneration, snags, CWM, plot fields, checklists and tables) is set up under Plot Optional Data (Chapter 6, section 6.9).